
How to make a bodice with gathered darts
This is a great way to give yourself extra room around the hips or belly, without adding gathers in those areas- I don't need any extra fabric over my midriff thanks, so this has worked amazingly well!

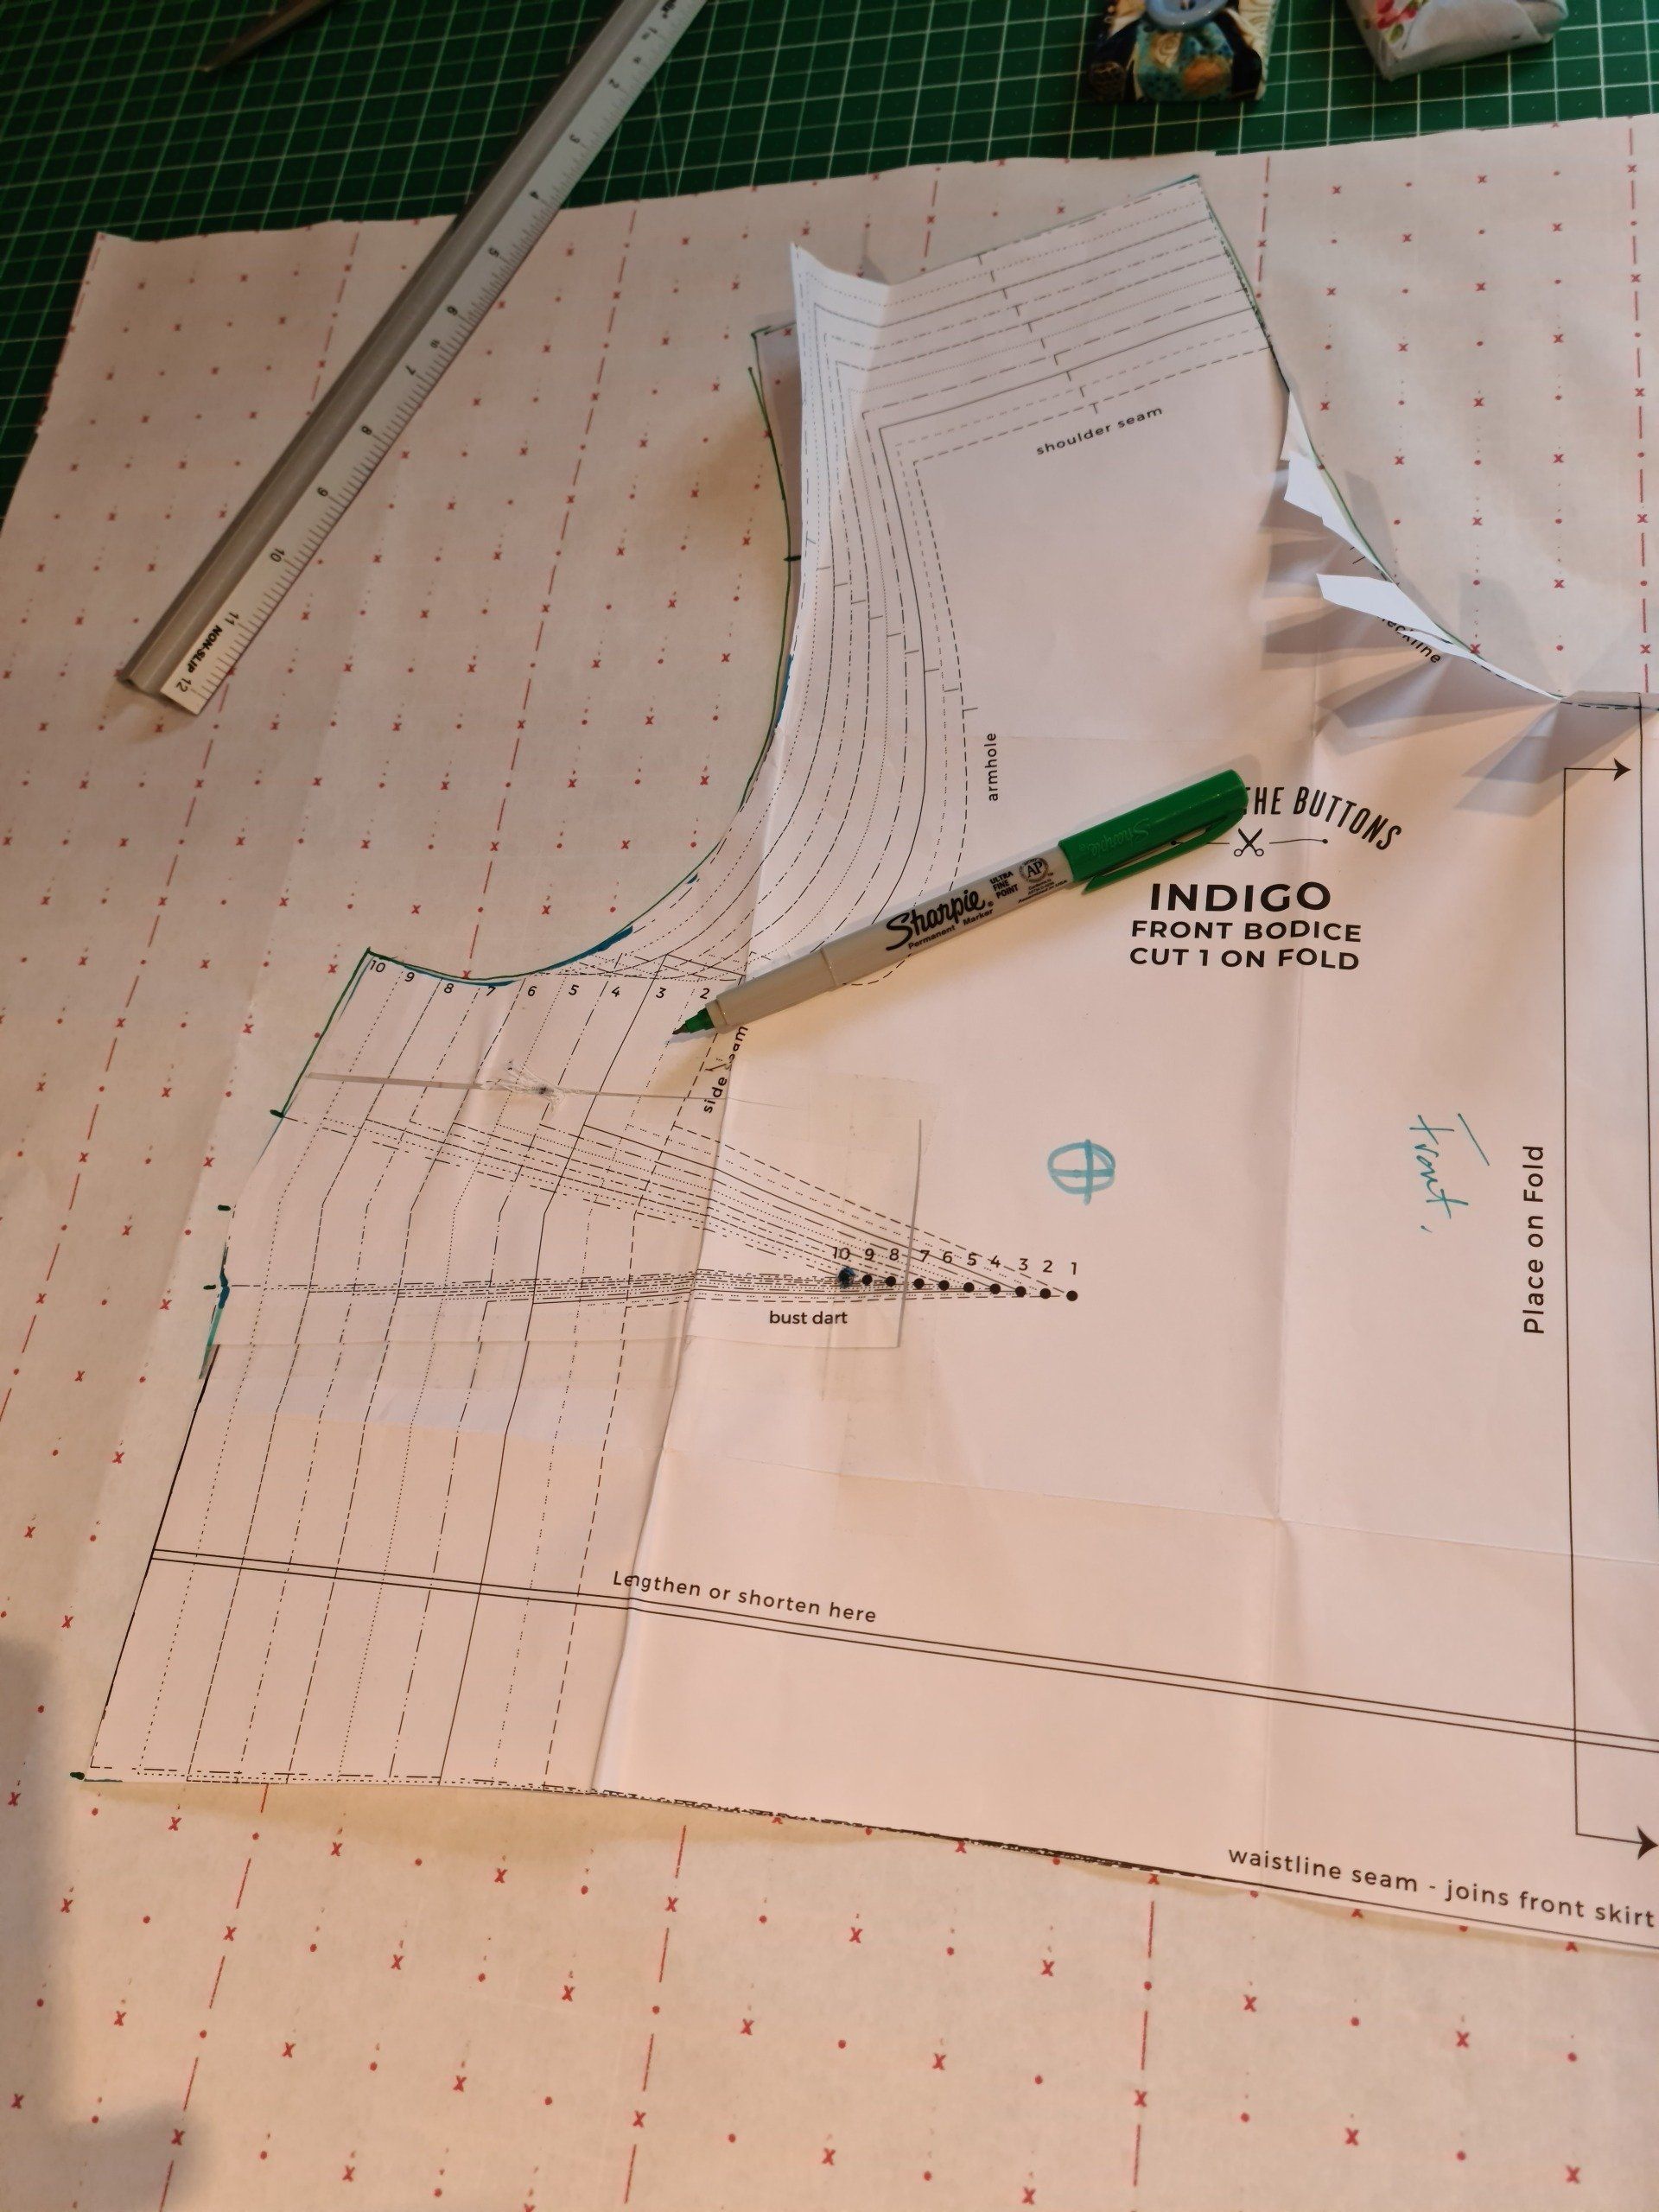
- Choose a pattern where you already know you have a good fit. I've used the top section of 'Tilly and the buttons', Indigo as I know it fits well and I've already altered the neckline to a depth I prefer. I've extended the bodice length to give me a tunic top.
2-Draw around the shoulder, neckline and armhole sections then mark the dart point and where the legs of the dart end.
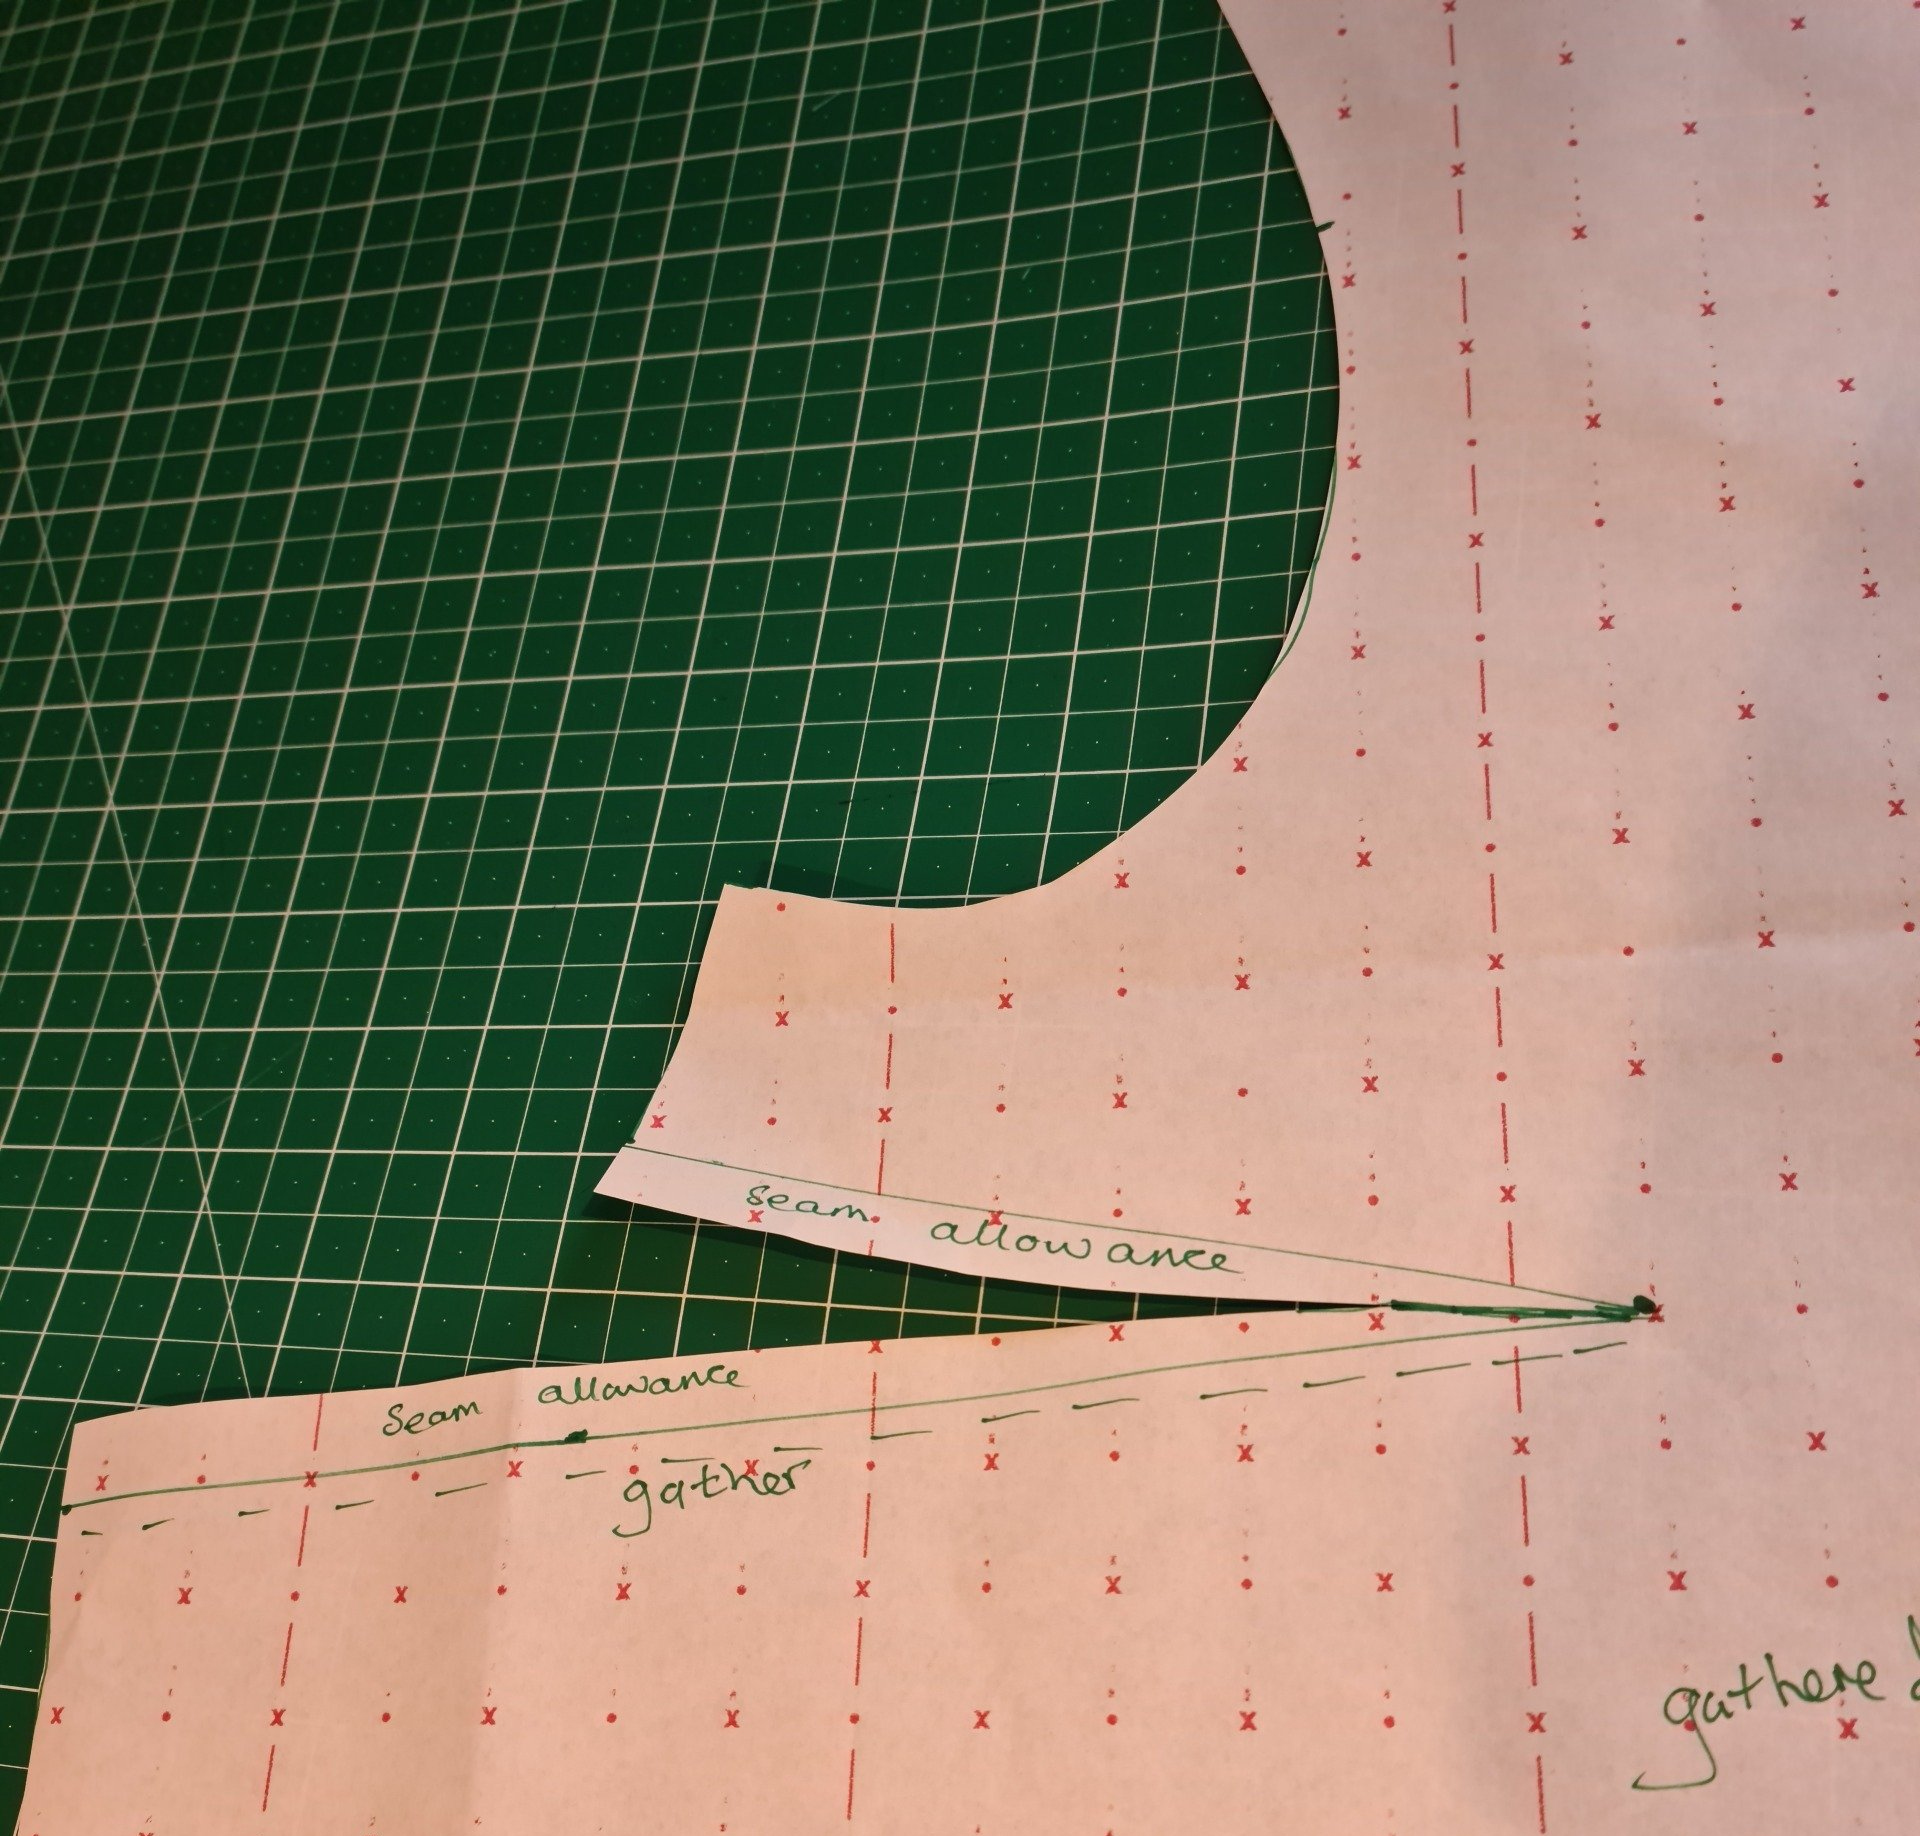
3- Extend the lower dart leg by the amount you want to be gathered,
I've done mine 10cm, but this would depend on how long your original dart is. Mine was 12 cms

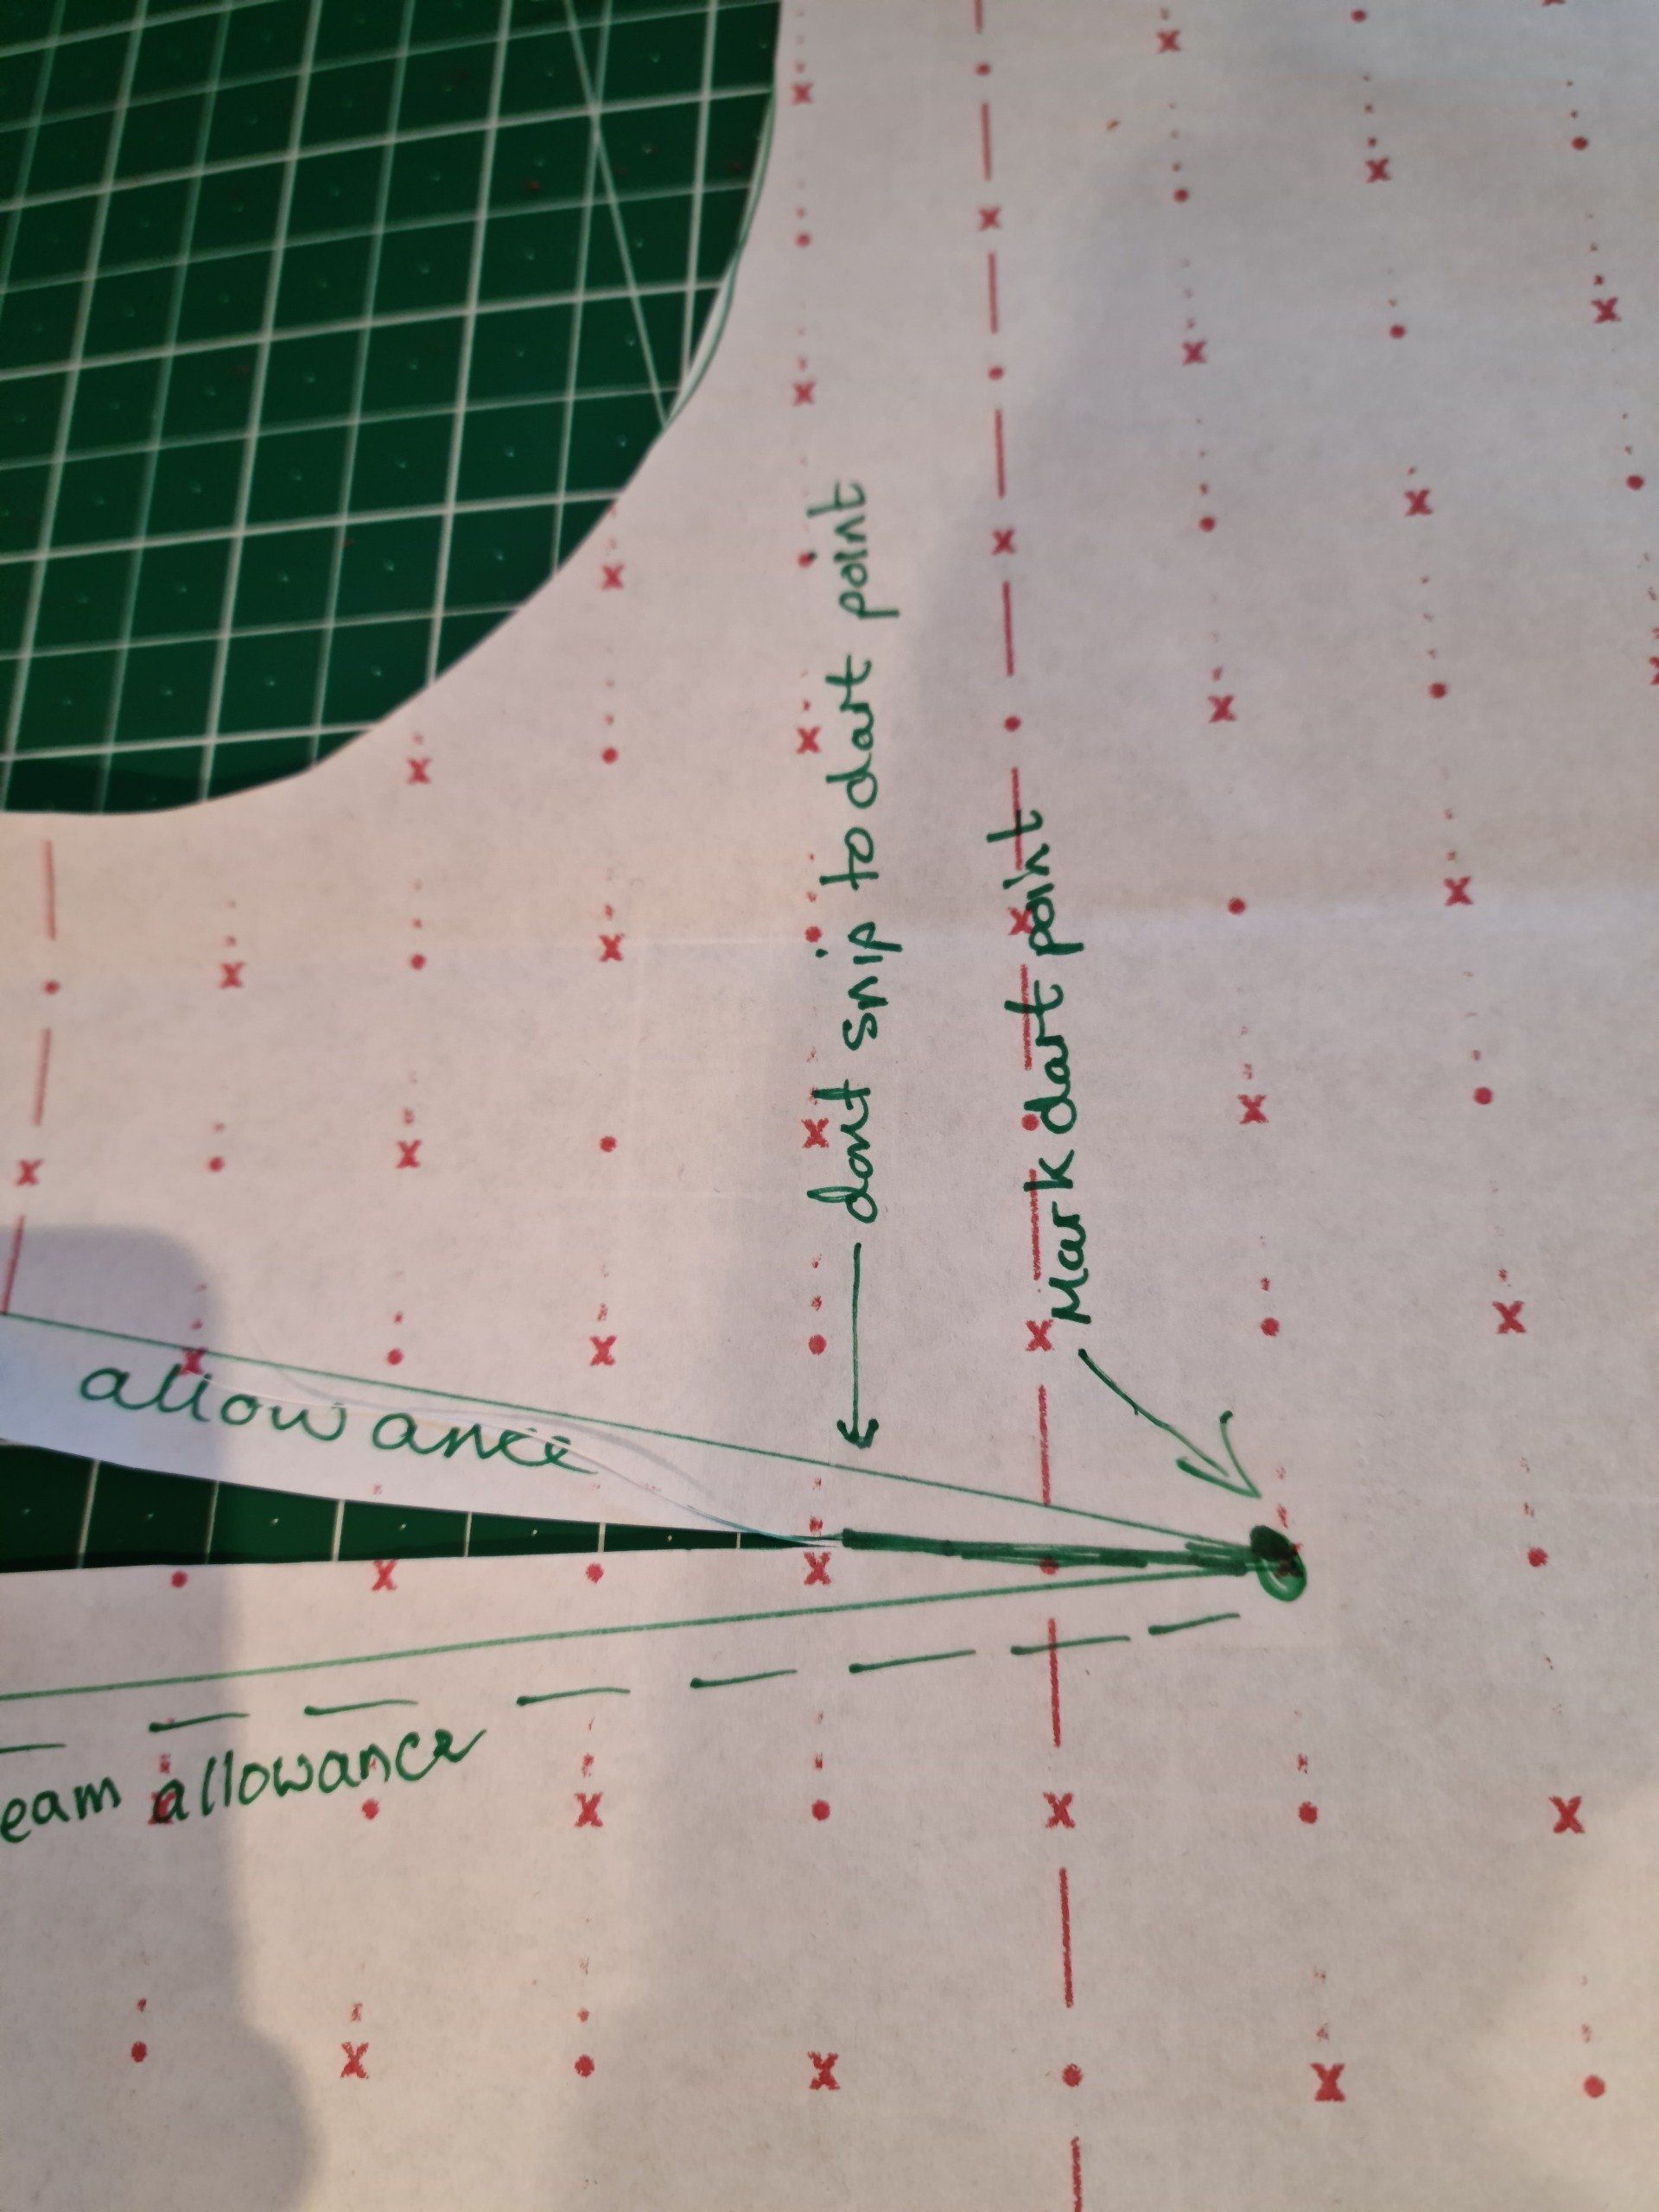
4- Cut around the pattern into the dart leg but leave a 1cm seam allowance on both edges.
5- When you cut out the fabric, mark the dart point and don't cut the fabric into the dart point, this will enable you to fold the dart as normal
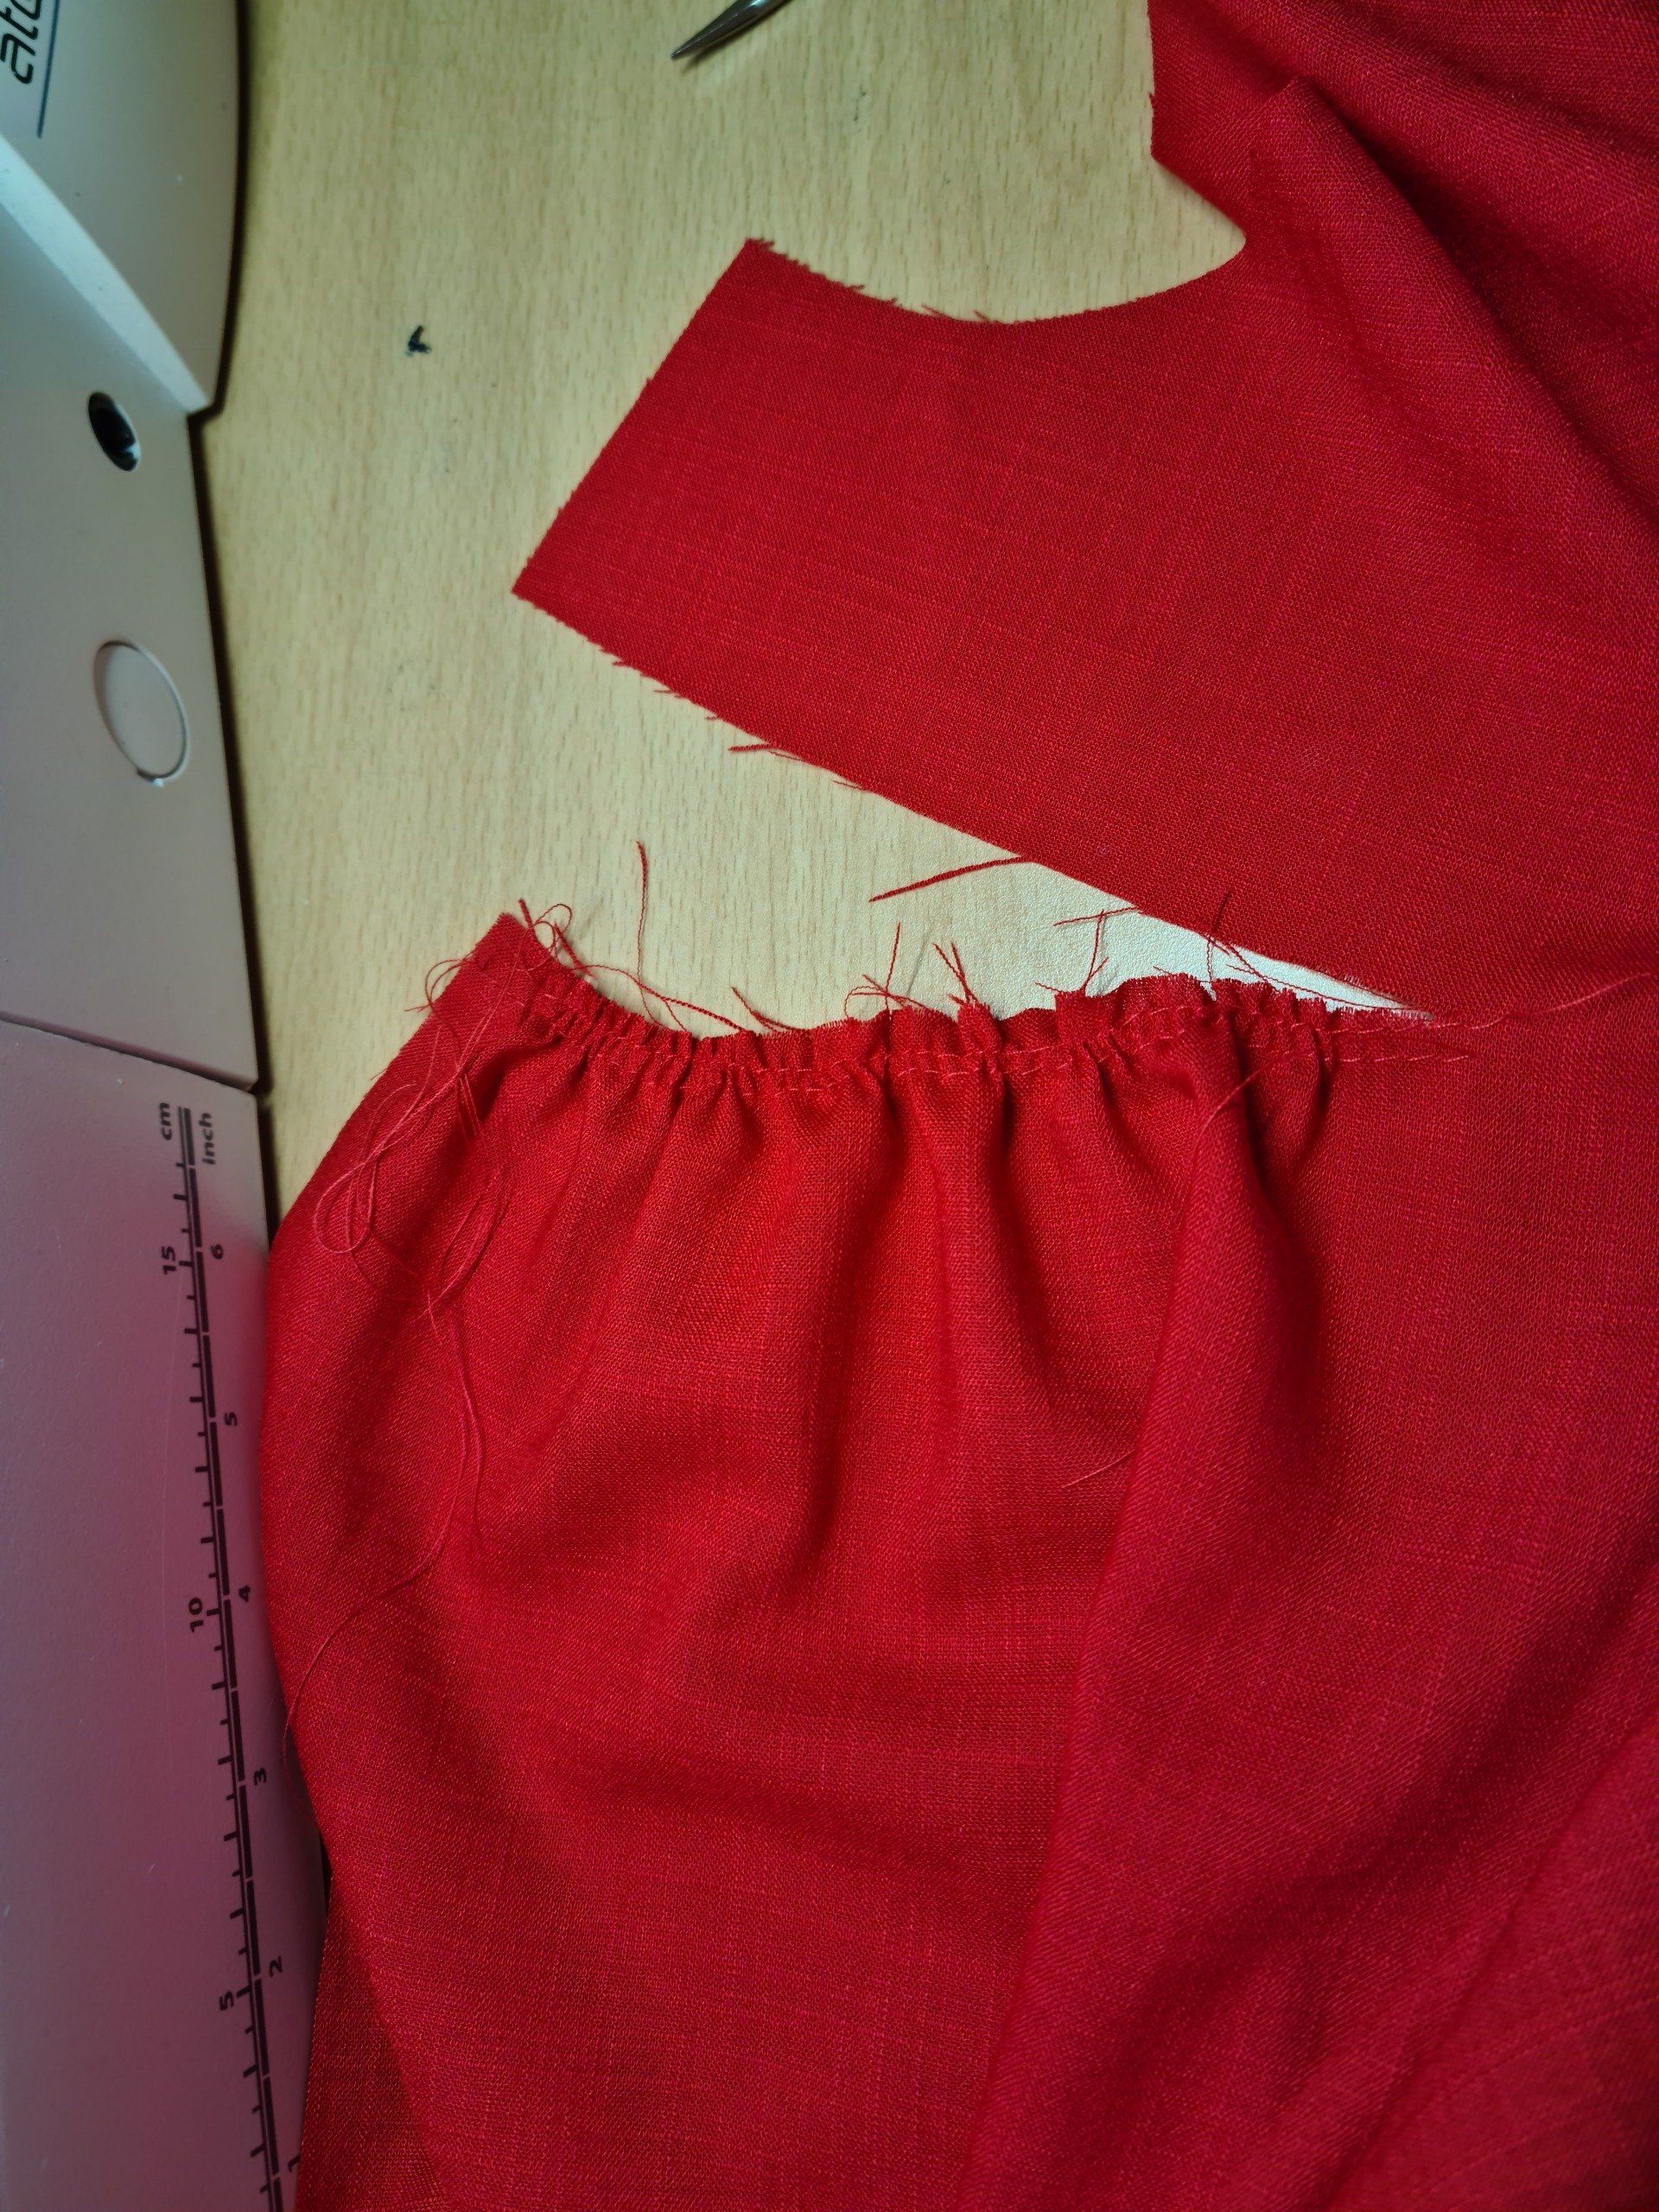
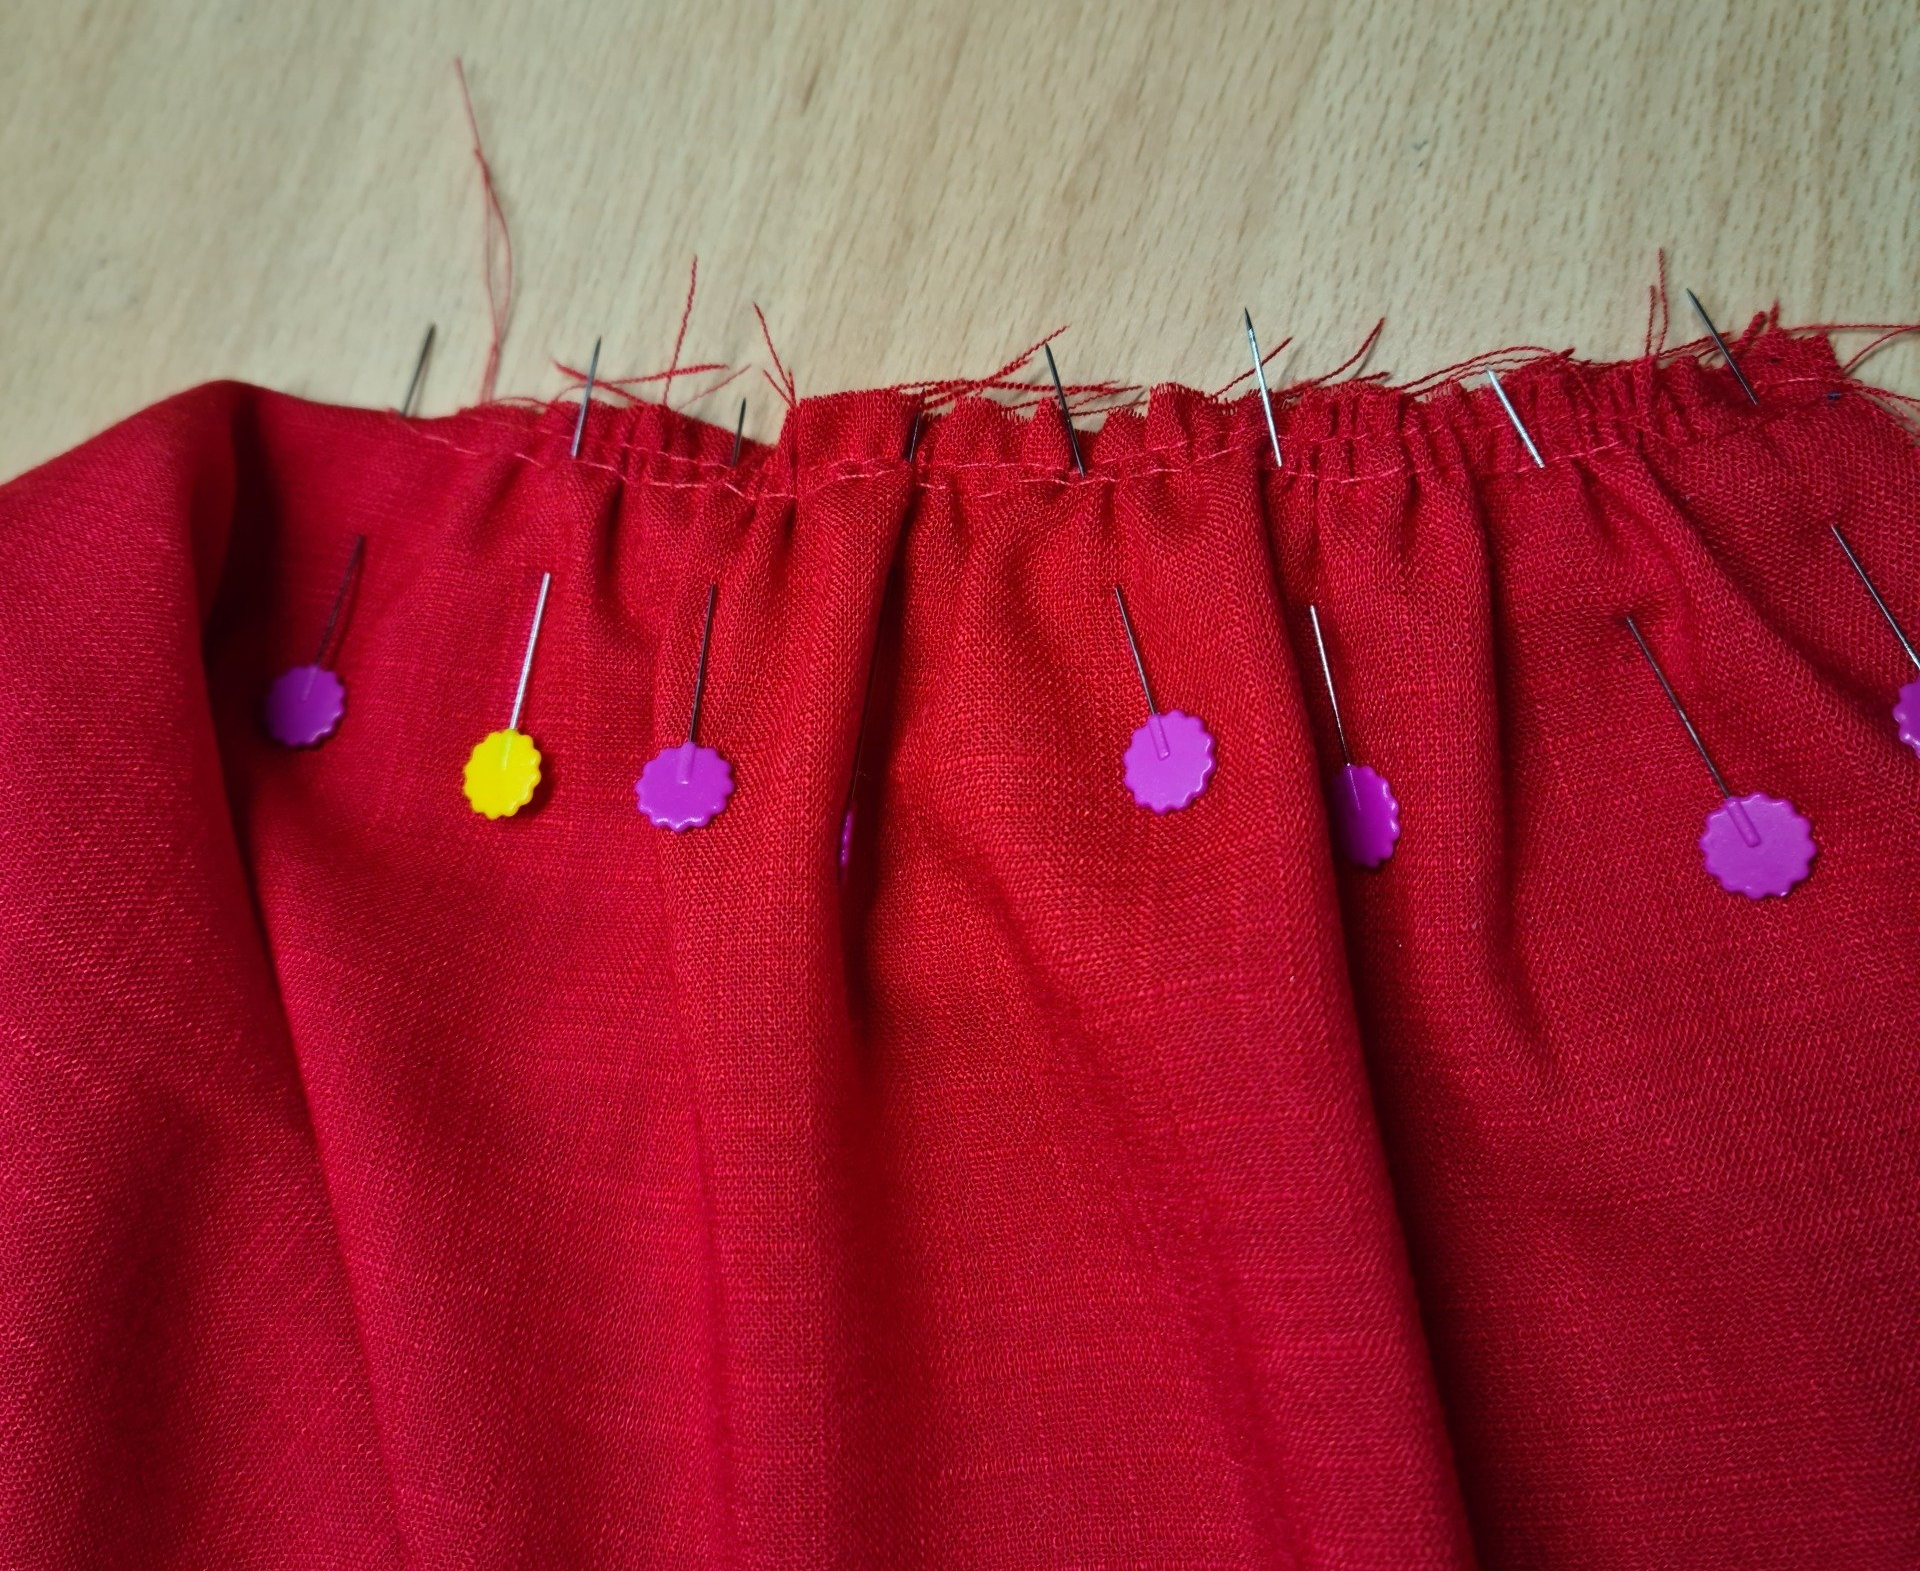
6- Use 2 lines of a long gathering stich on the lower edge of the dart, within the 1cm seam allowance. pin the edges together, right sides facing. and sew. Start at the wide end of the dart and sew all the way to the dart point, leave the tails long and knot them to finish the dart.
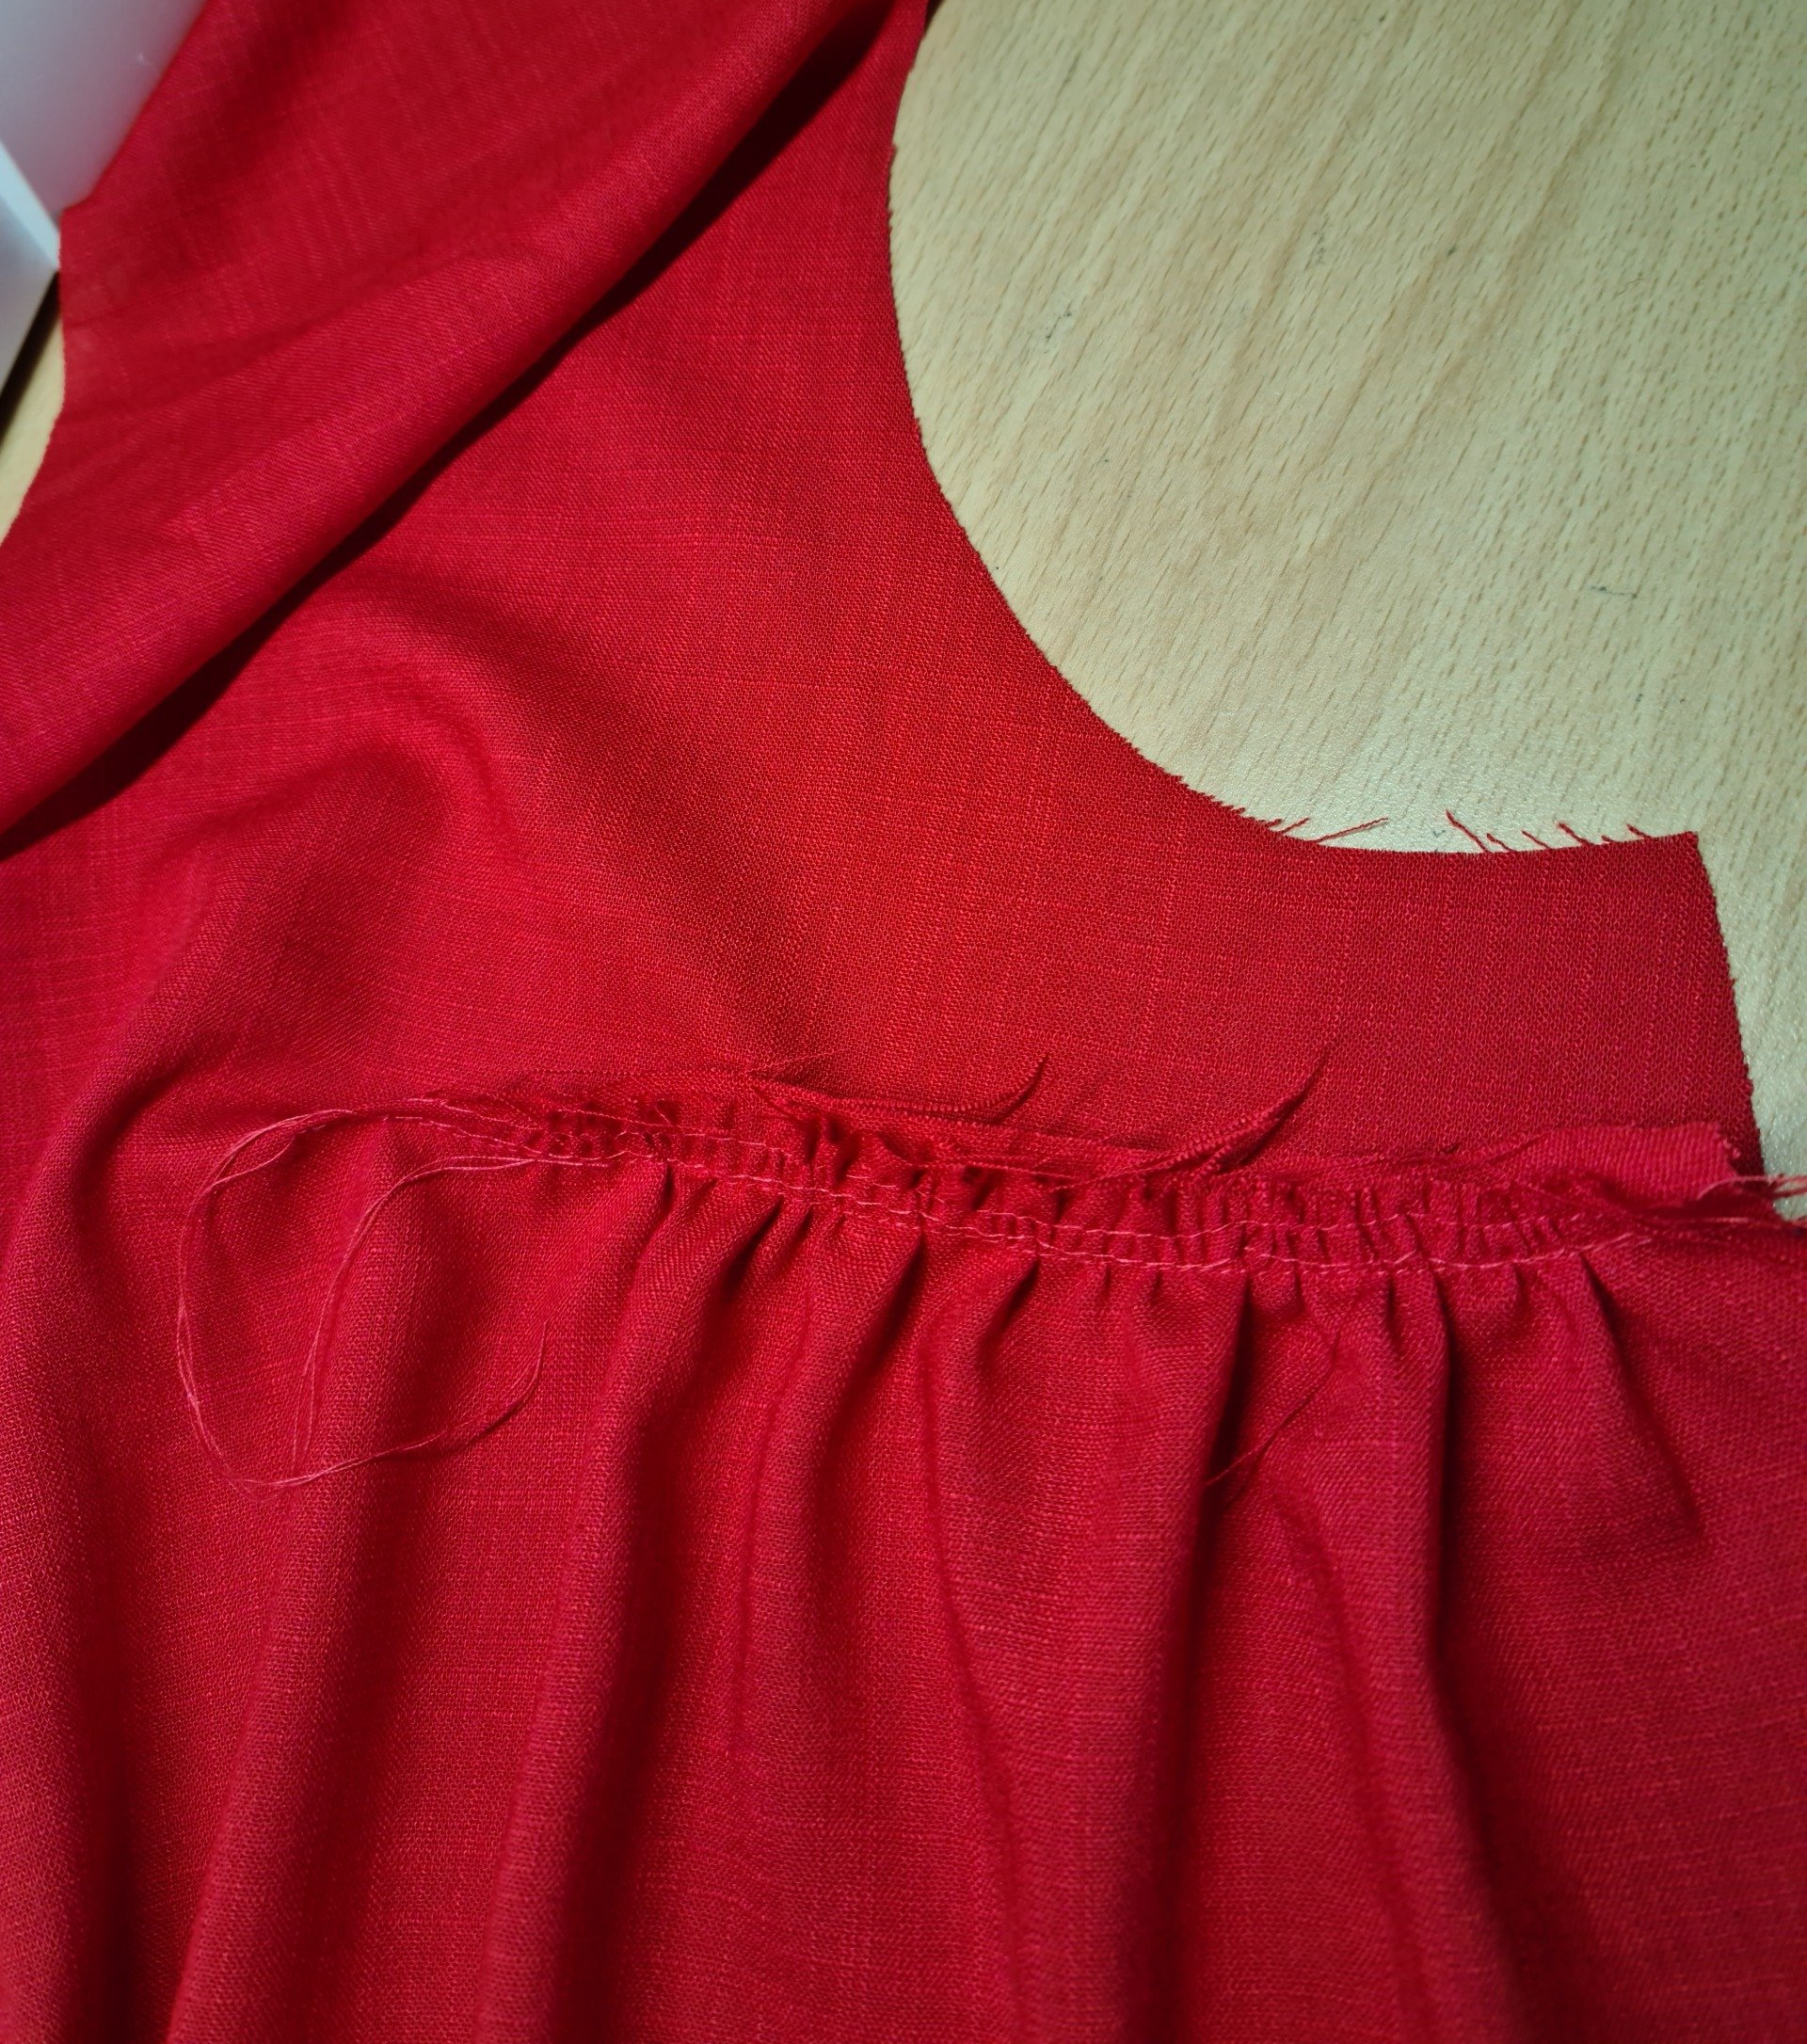
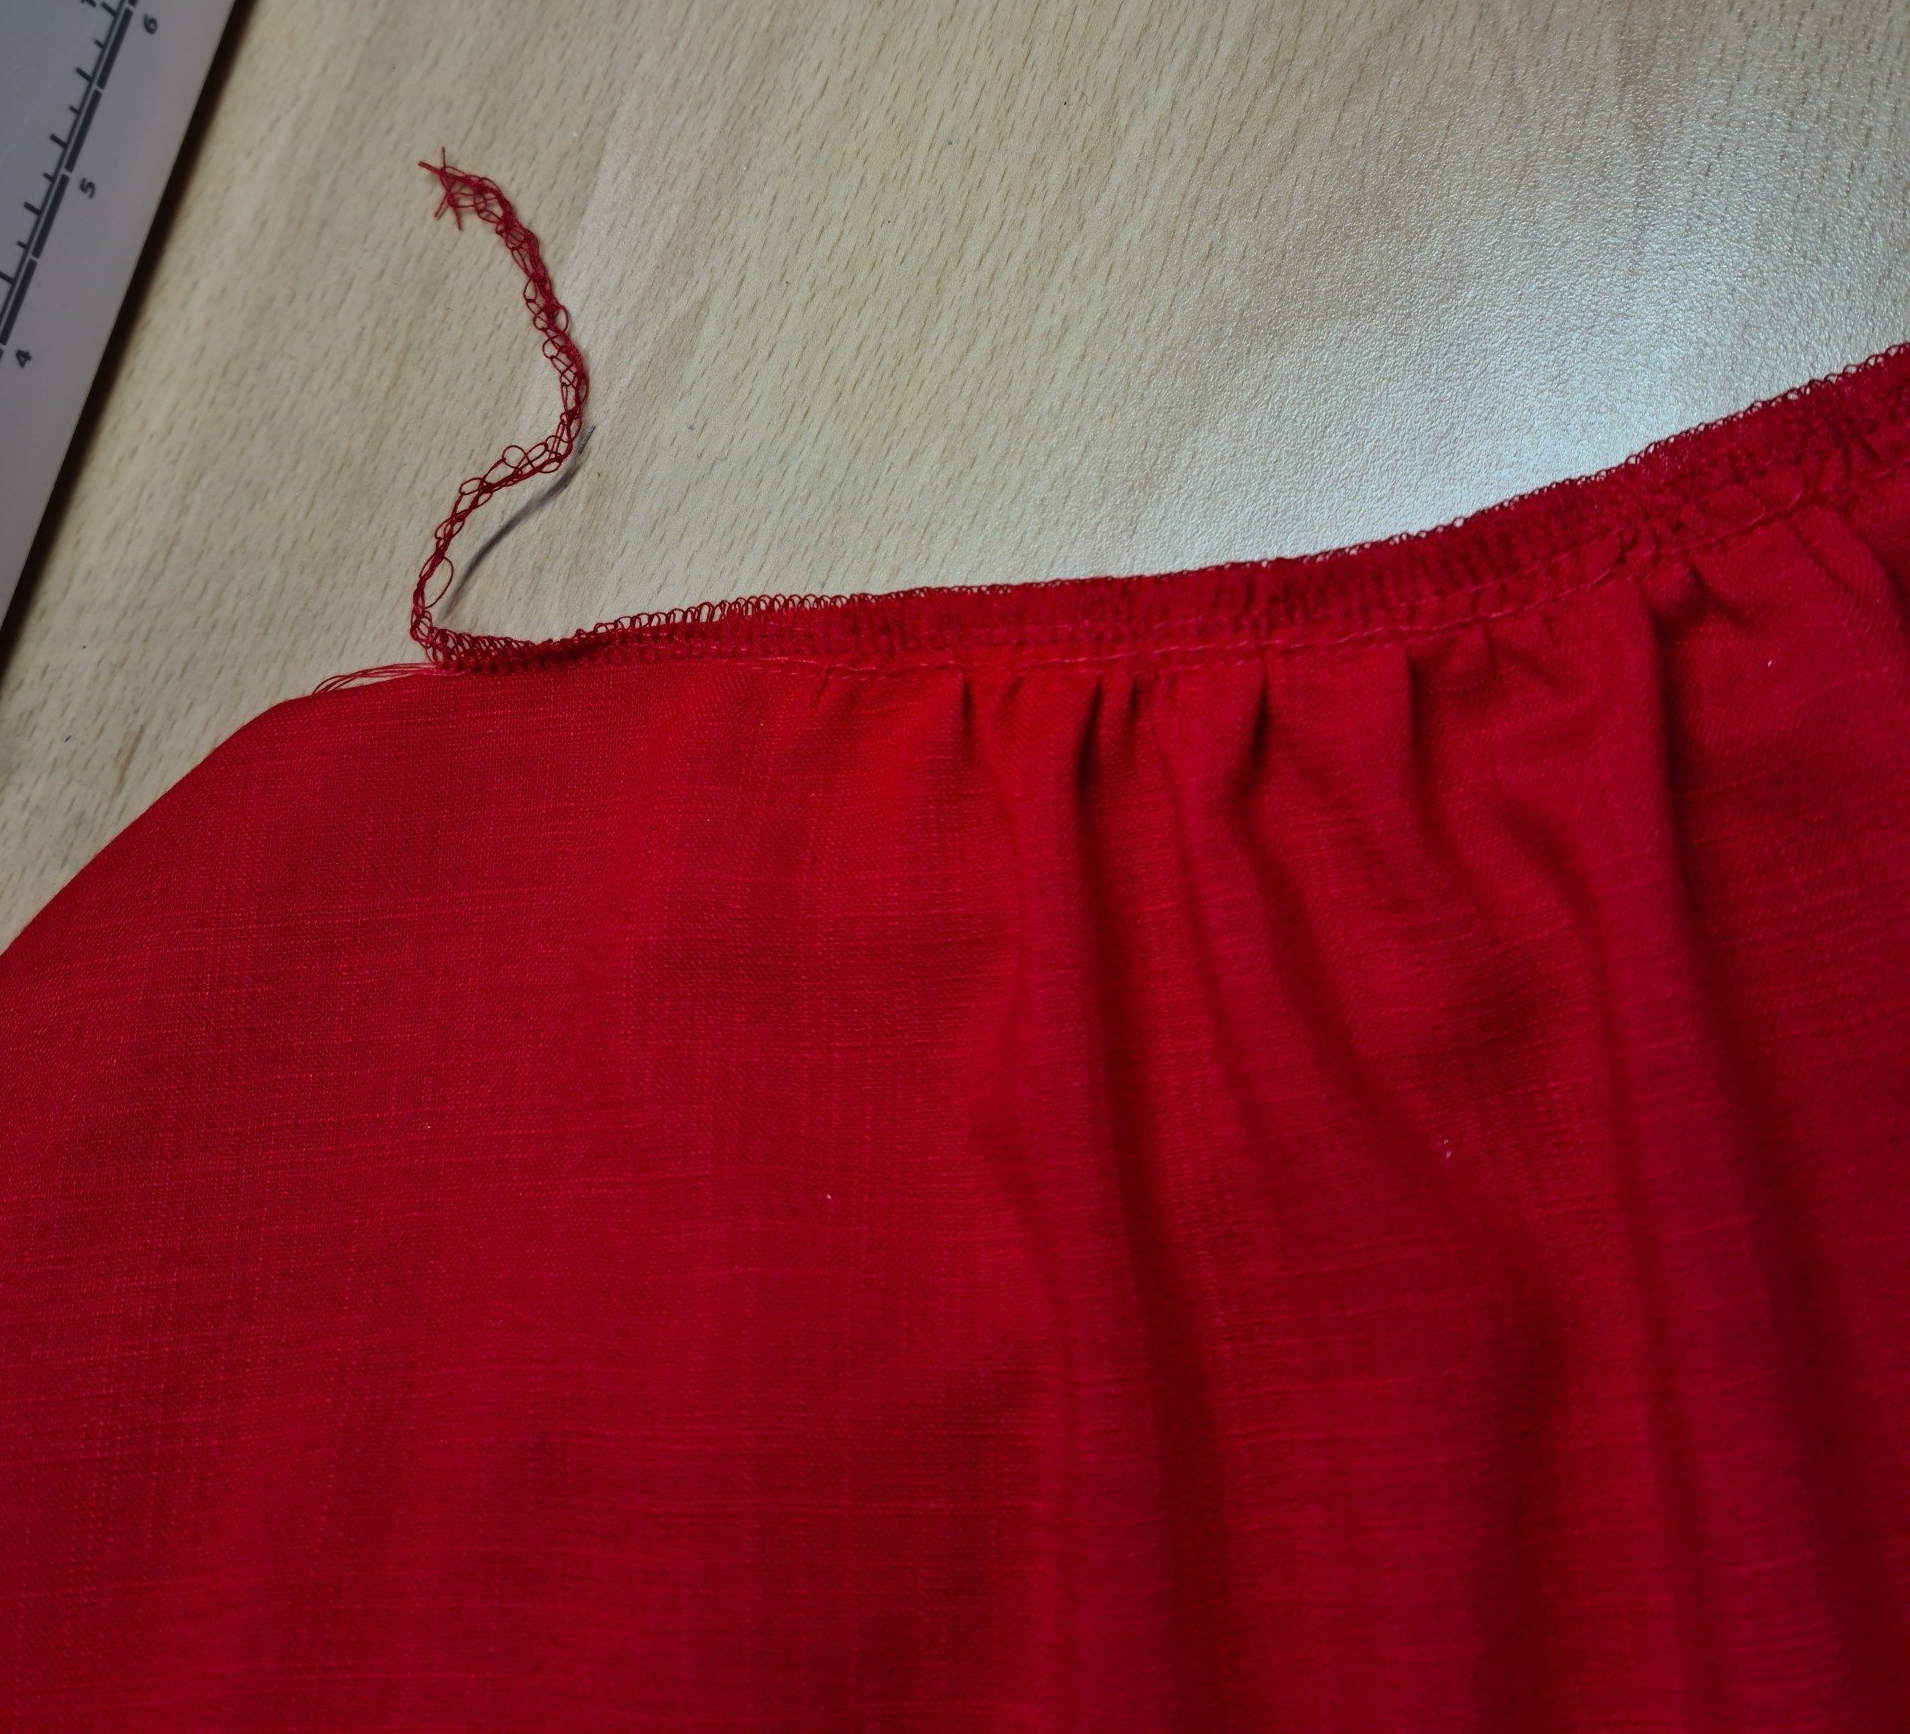
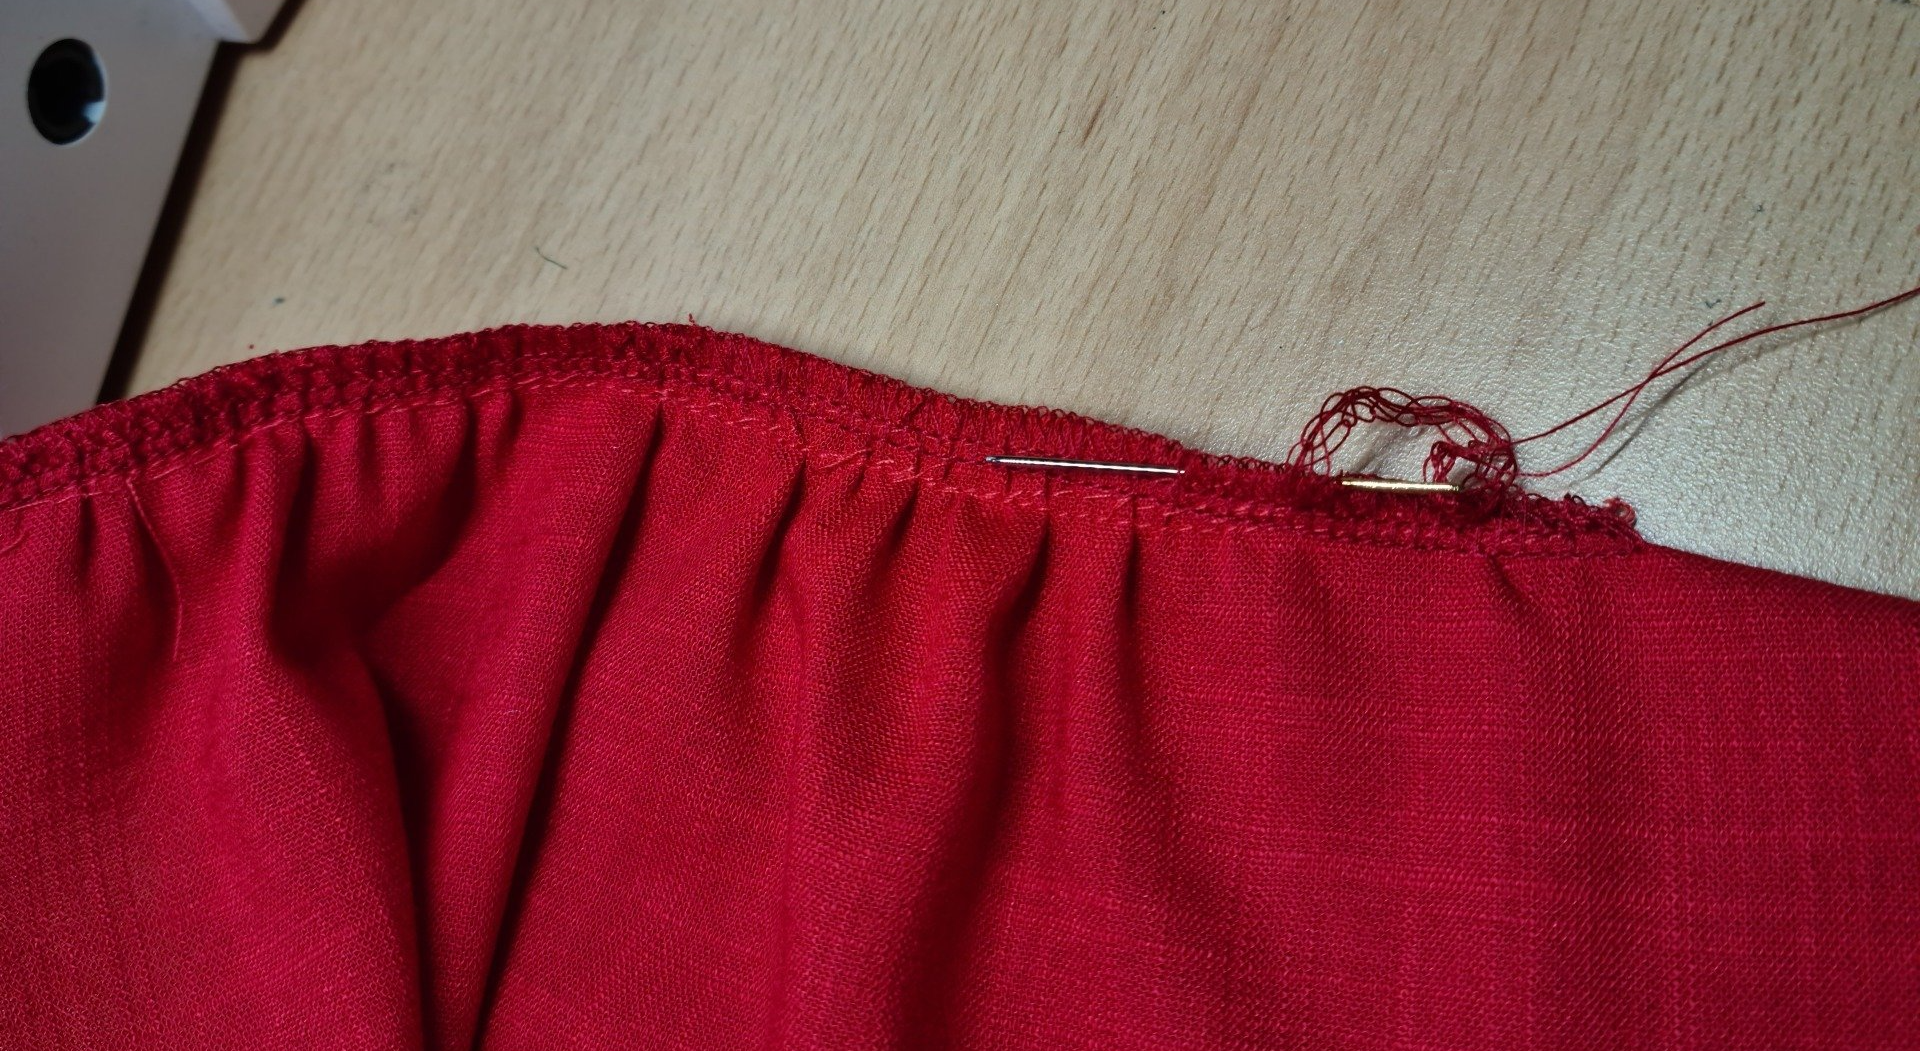
7- Finish the raw edge,
I've used an overlocker but you can Zig-zag or even bias bind to cover it. If you overlock, you need to tidy up the tail by sewing it back through your stitches

8- Open out and press. Easy right!? I've made mine in a light floaty linen from my stash to test the toile. It would work in any light fabric I think, such as gauze or viscose. I'm not sure the gathers would sit as well in something too stiff or heavy though.

9- Construct the rest of your top/dress as normal, Et Voila!