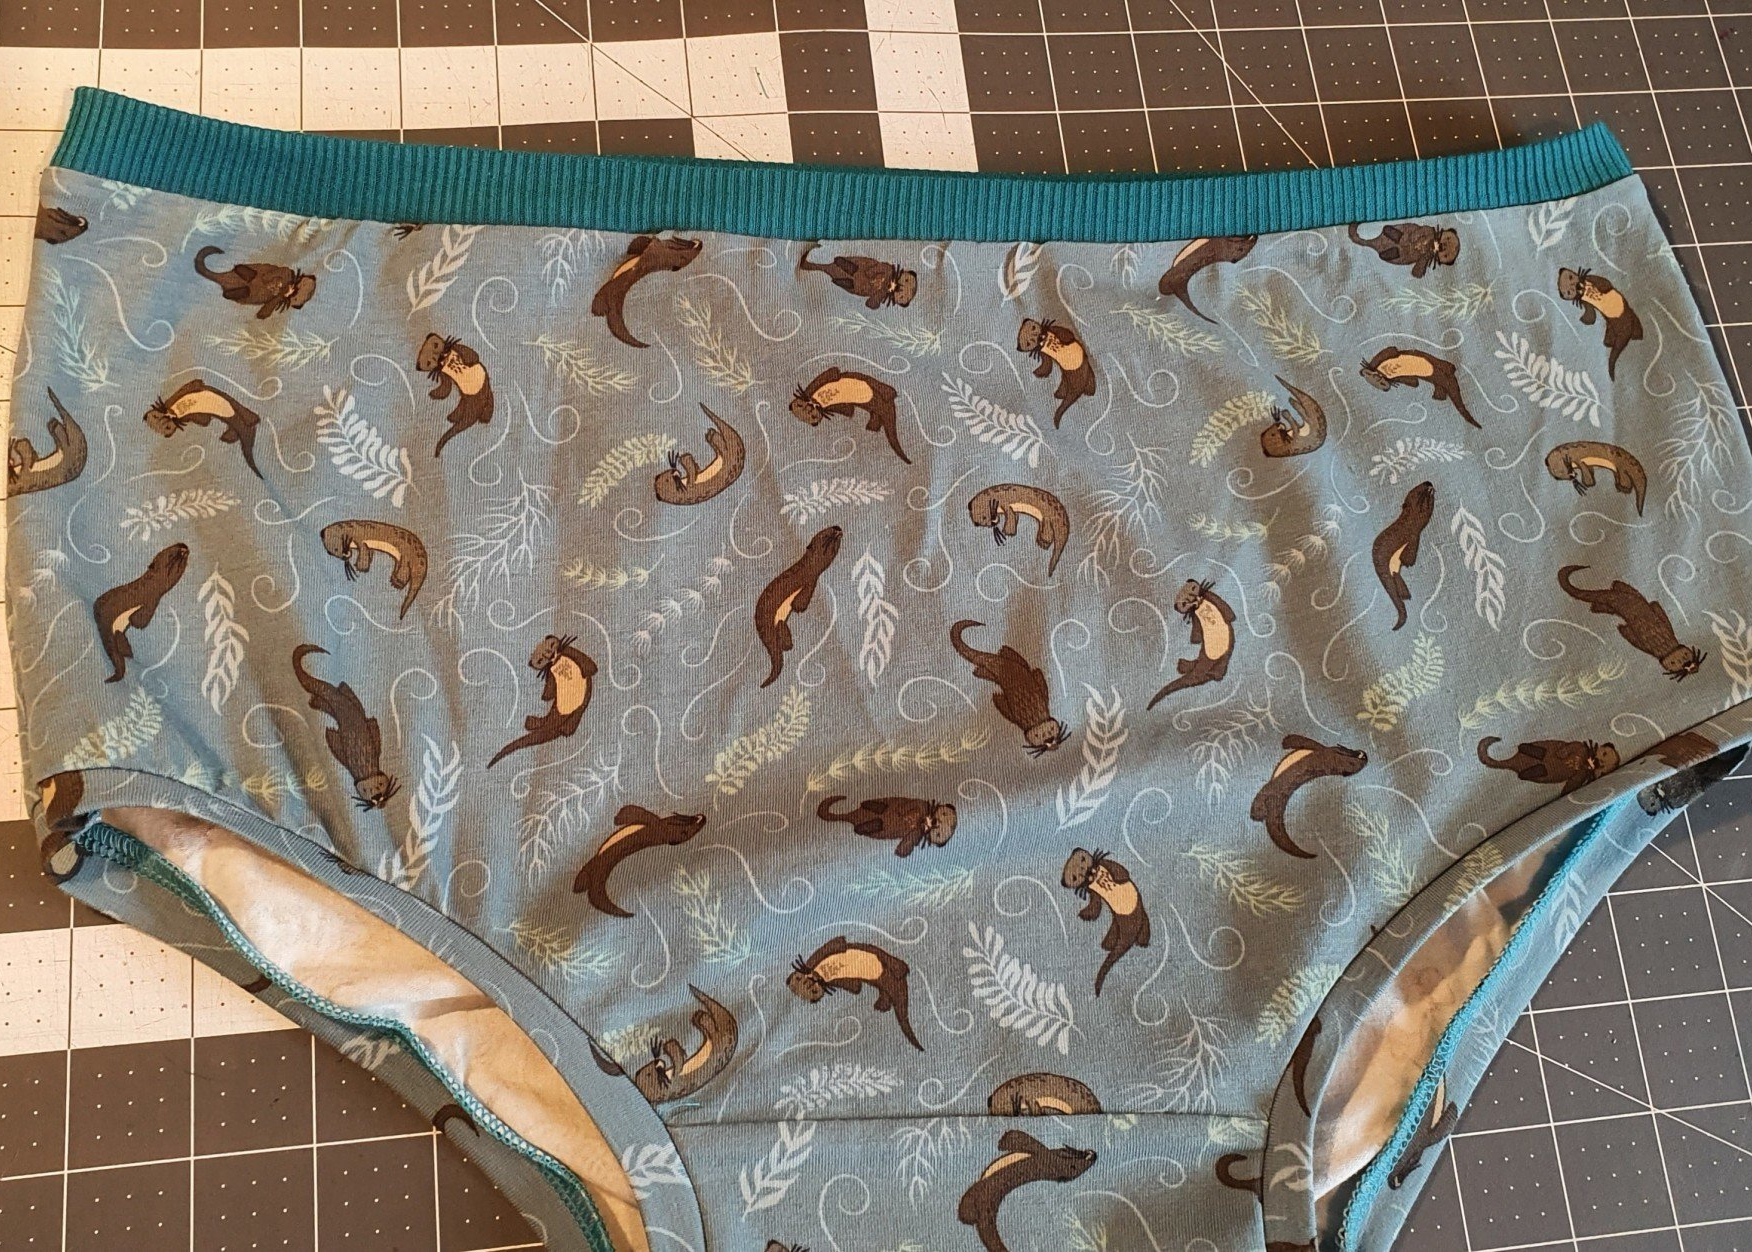
This project is PANTS!
A nice easy tutorial for using up all your jersey scraps. The whole thing is sewn on the overlocker but it can be done on a normal sewing machine, just use a ball point/stretch needle and a small zig-zag or lightening bolt stitch
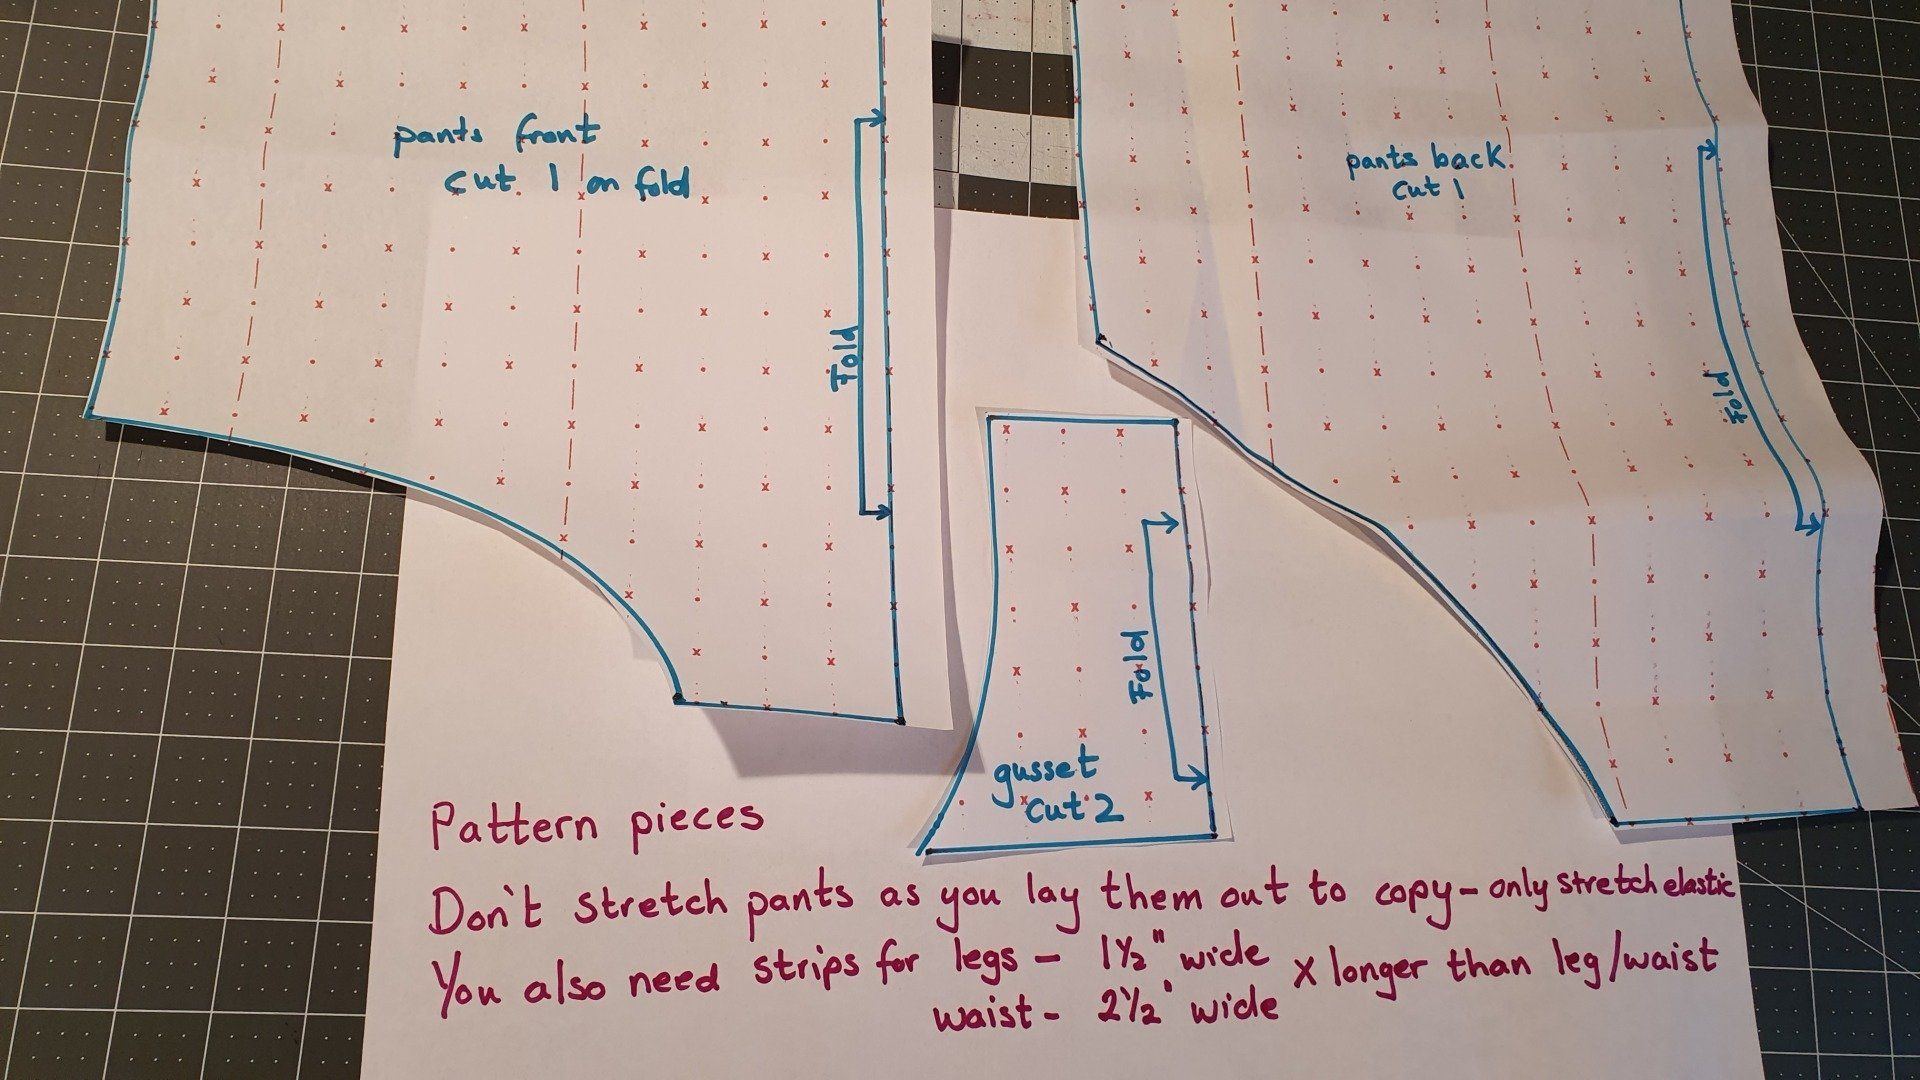
1) Draft a pattern using a pair of your favourite pants, this will give a better result than a bought pattern, as you already know they fit well and are comfy! Try not to stretch the fabric as you copy them, just mark the important corners and stretch the waist elastic to get the correct width. Use a French curve to give a nice shape to the legs. Add a 1cm seam allowance to the front and back pieces.
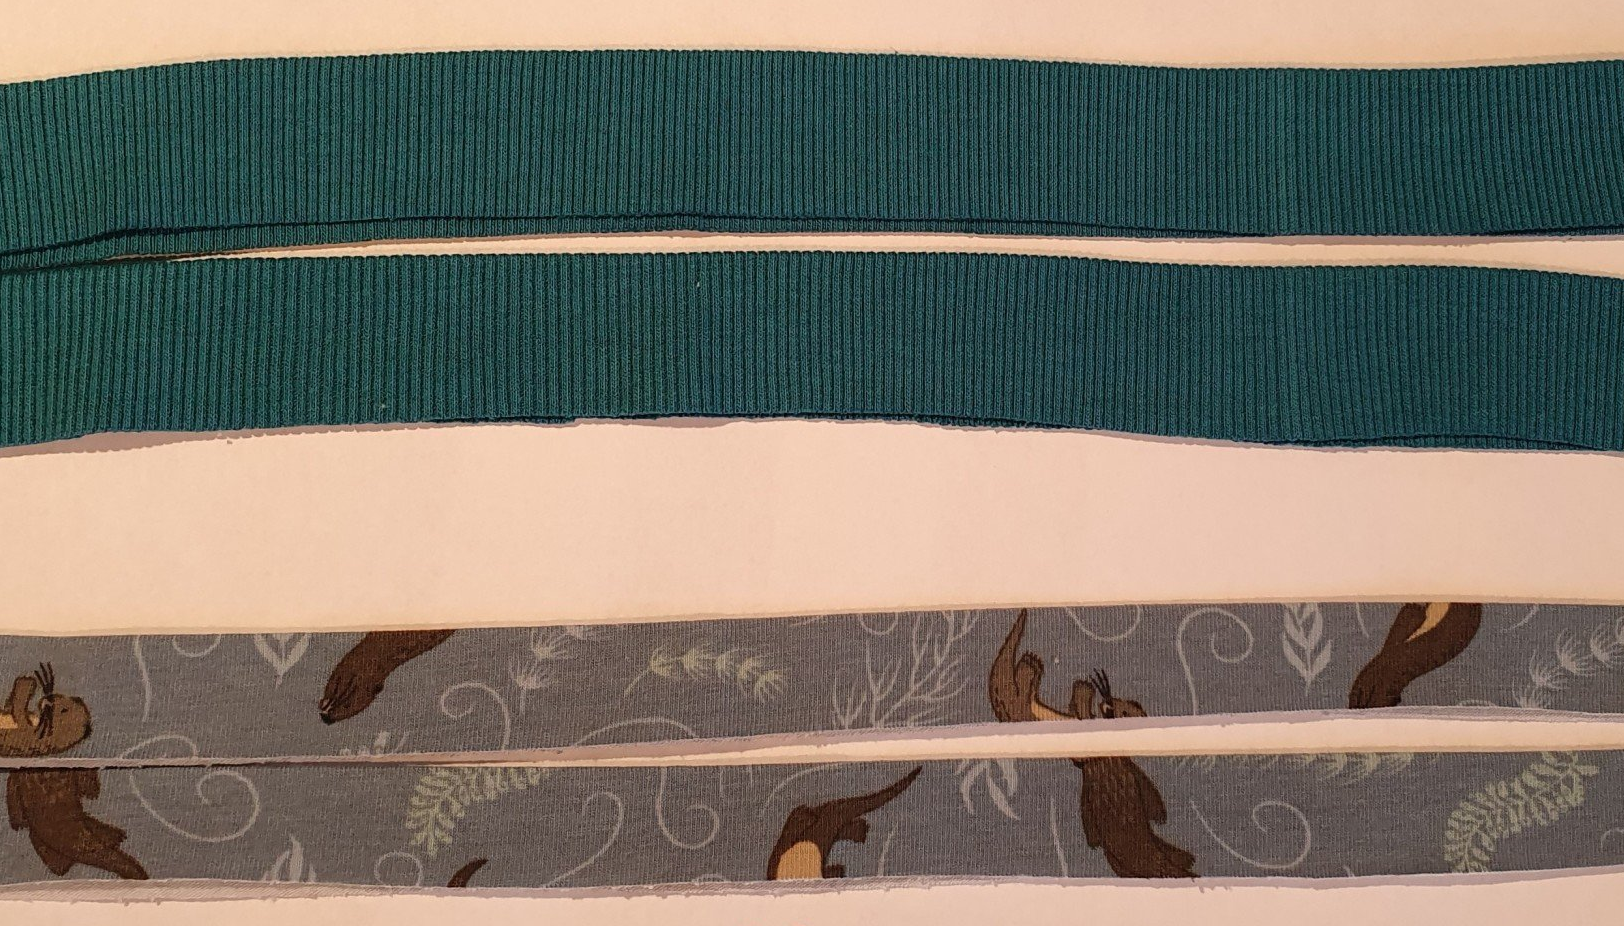
Cut bands for the legs and waist. Use the same jersey or a bit of ribbing, as I have here.
legs 1.5" wide, waist 2.5" wide. they need to be about the same or a bit longer than the pattern piece as you'll stretch them as you sew them on.
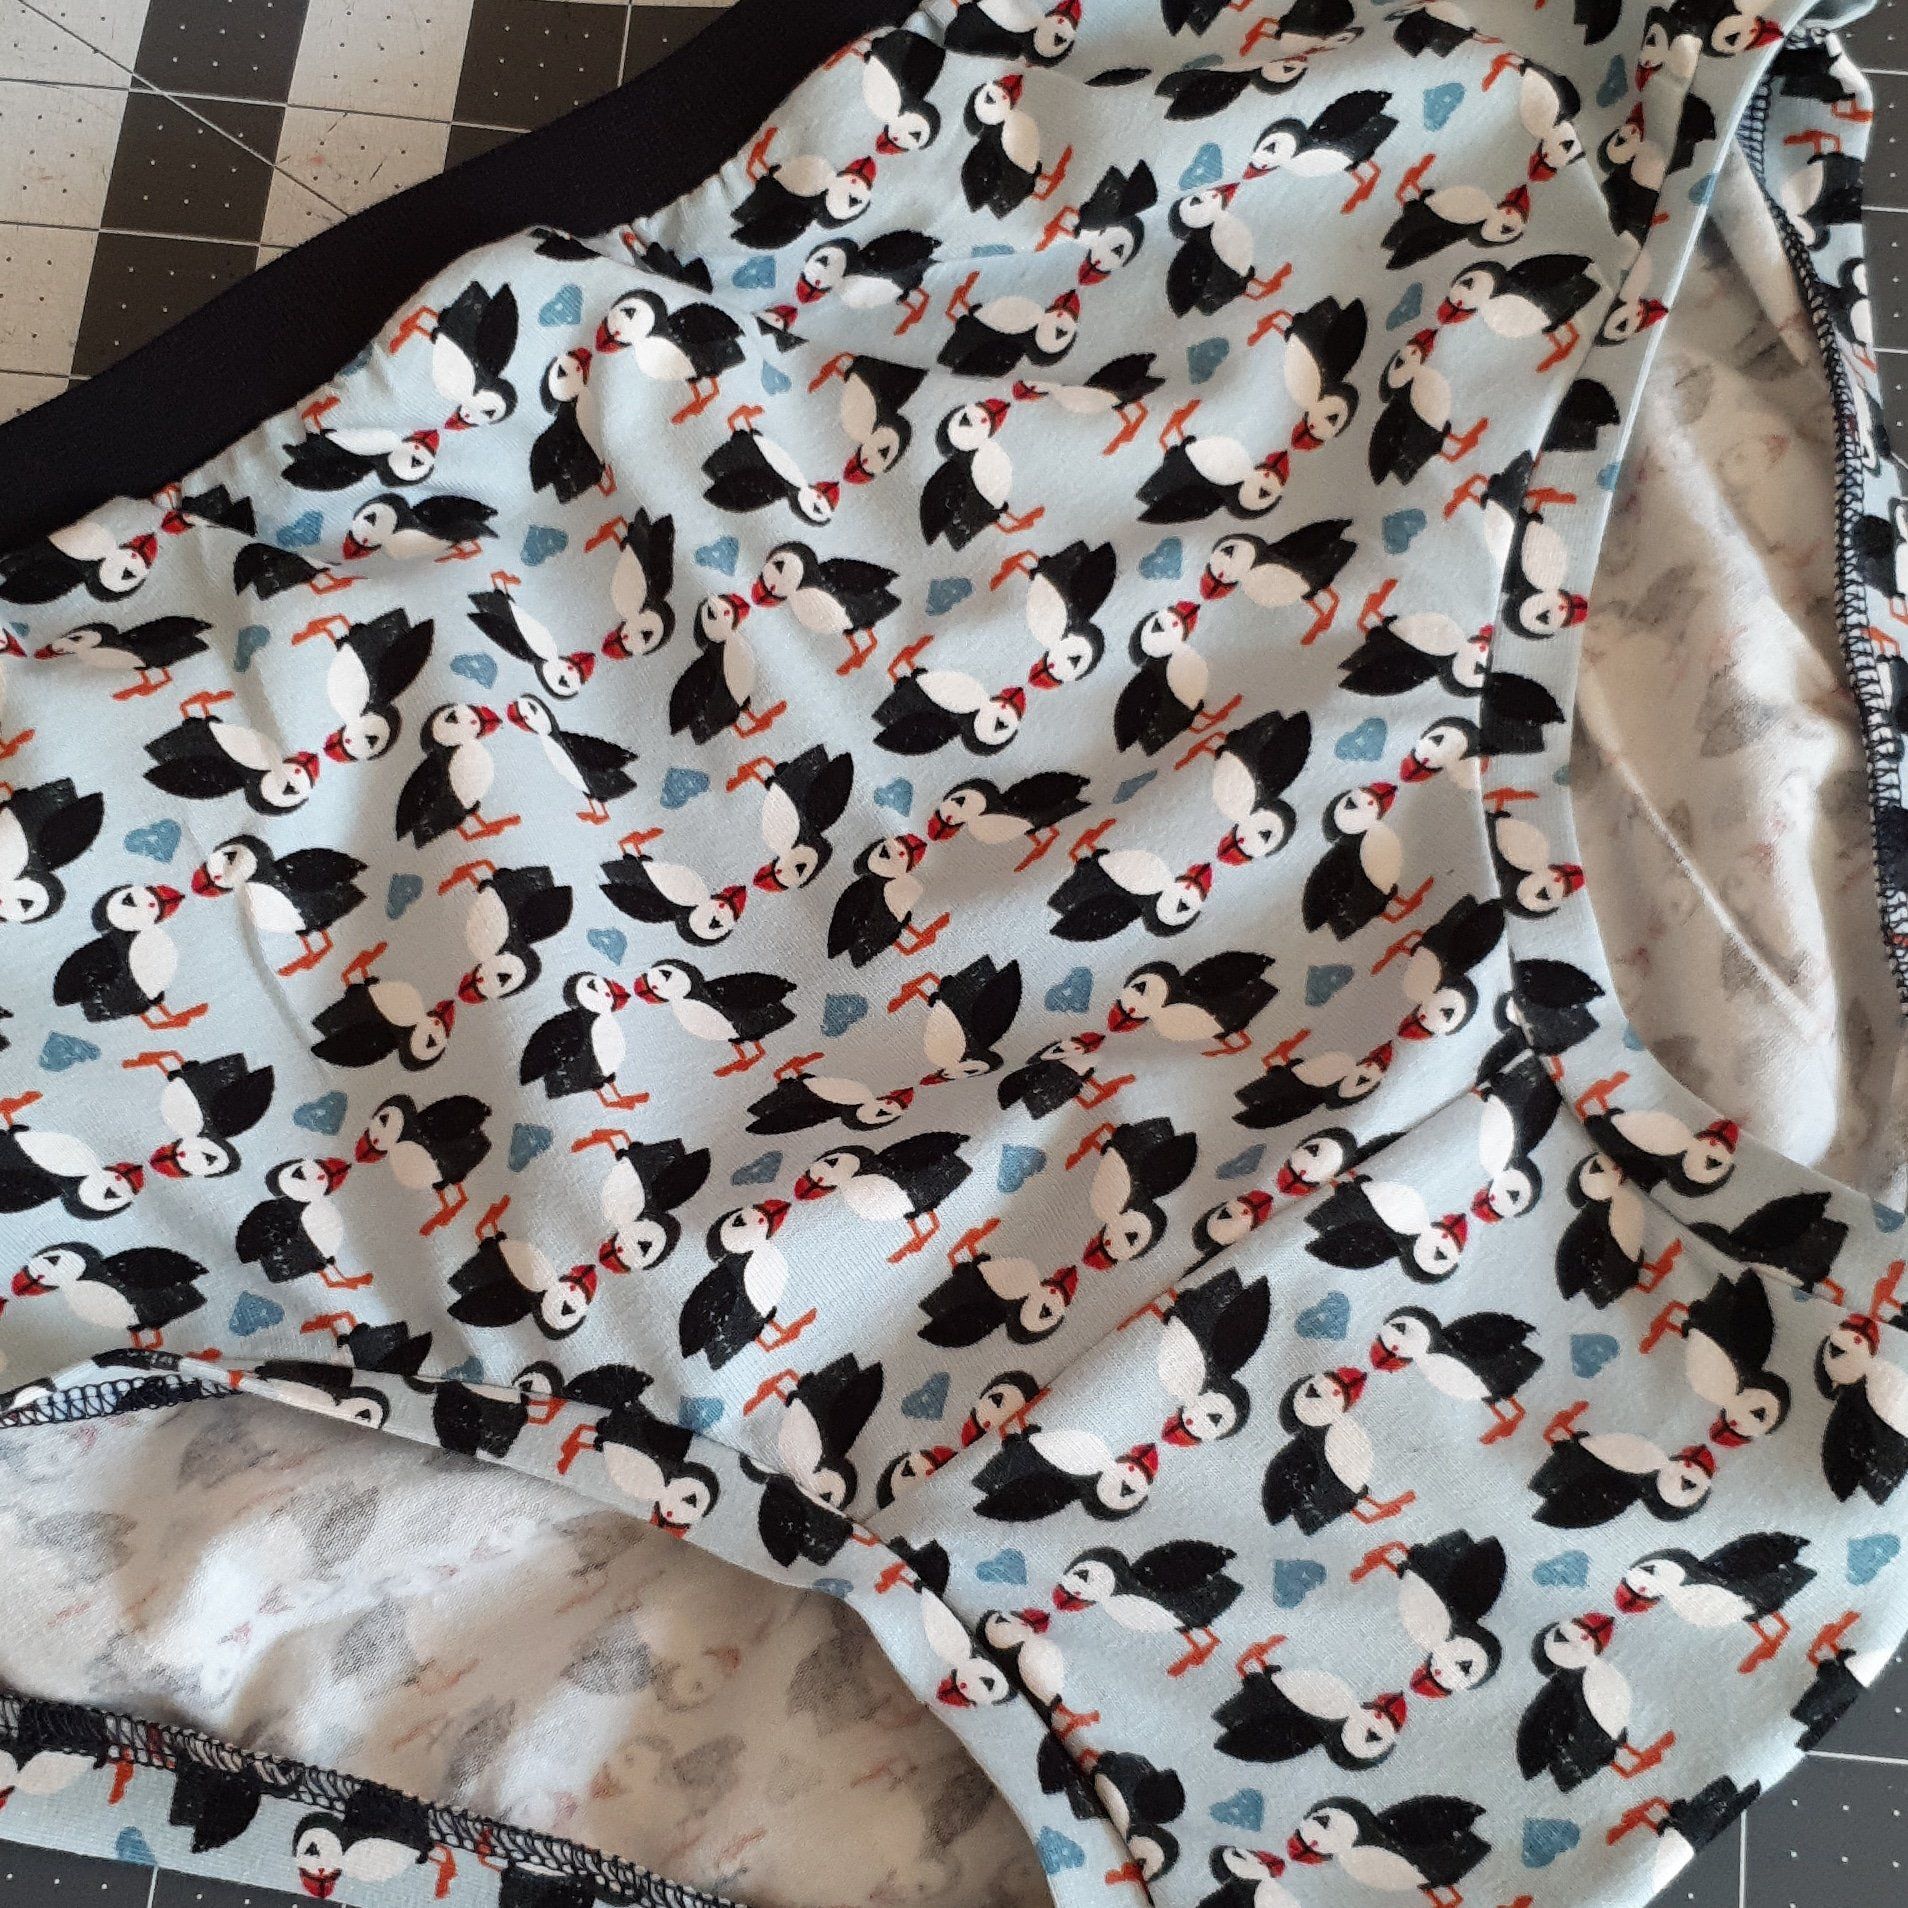
You need a 2 way stretch jersey for the best results, with good recovery.
2) Fold the leg and waist bands in half lengthways and press.

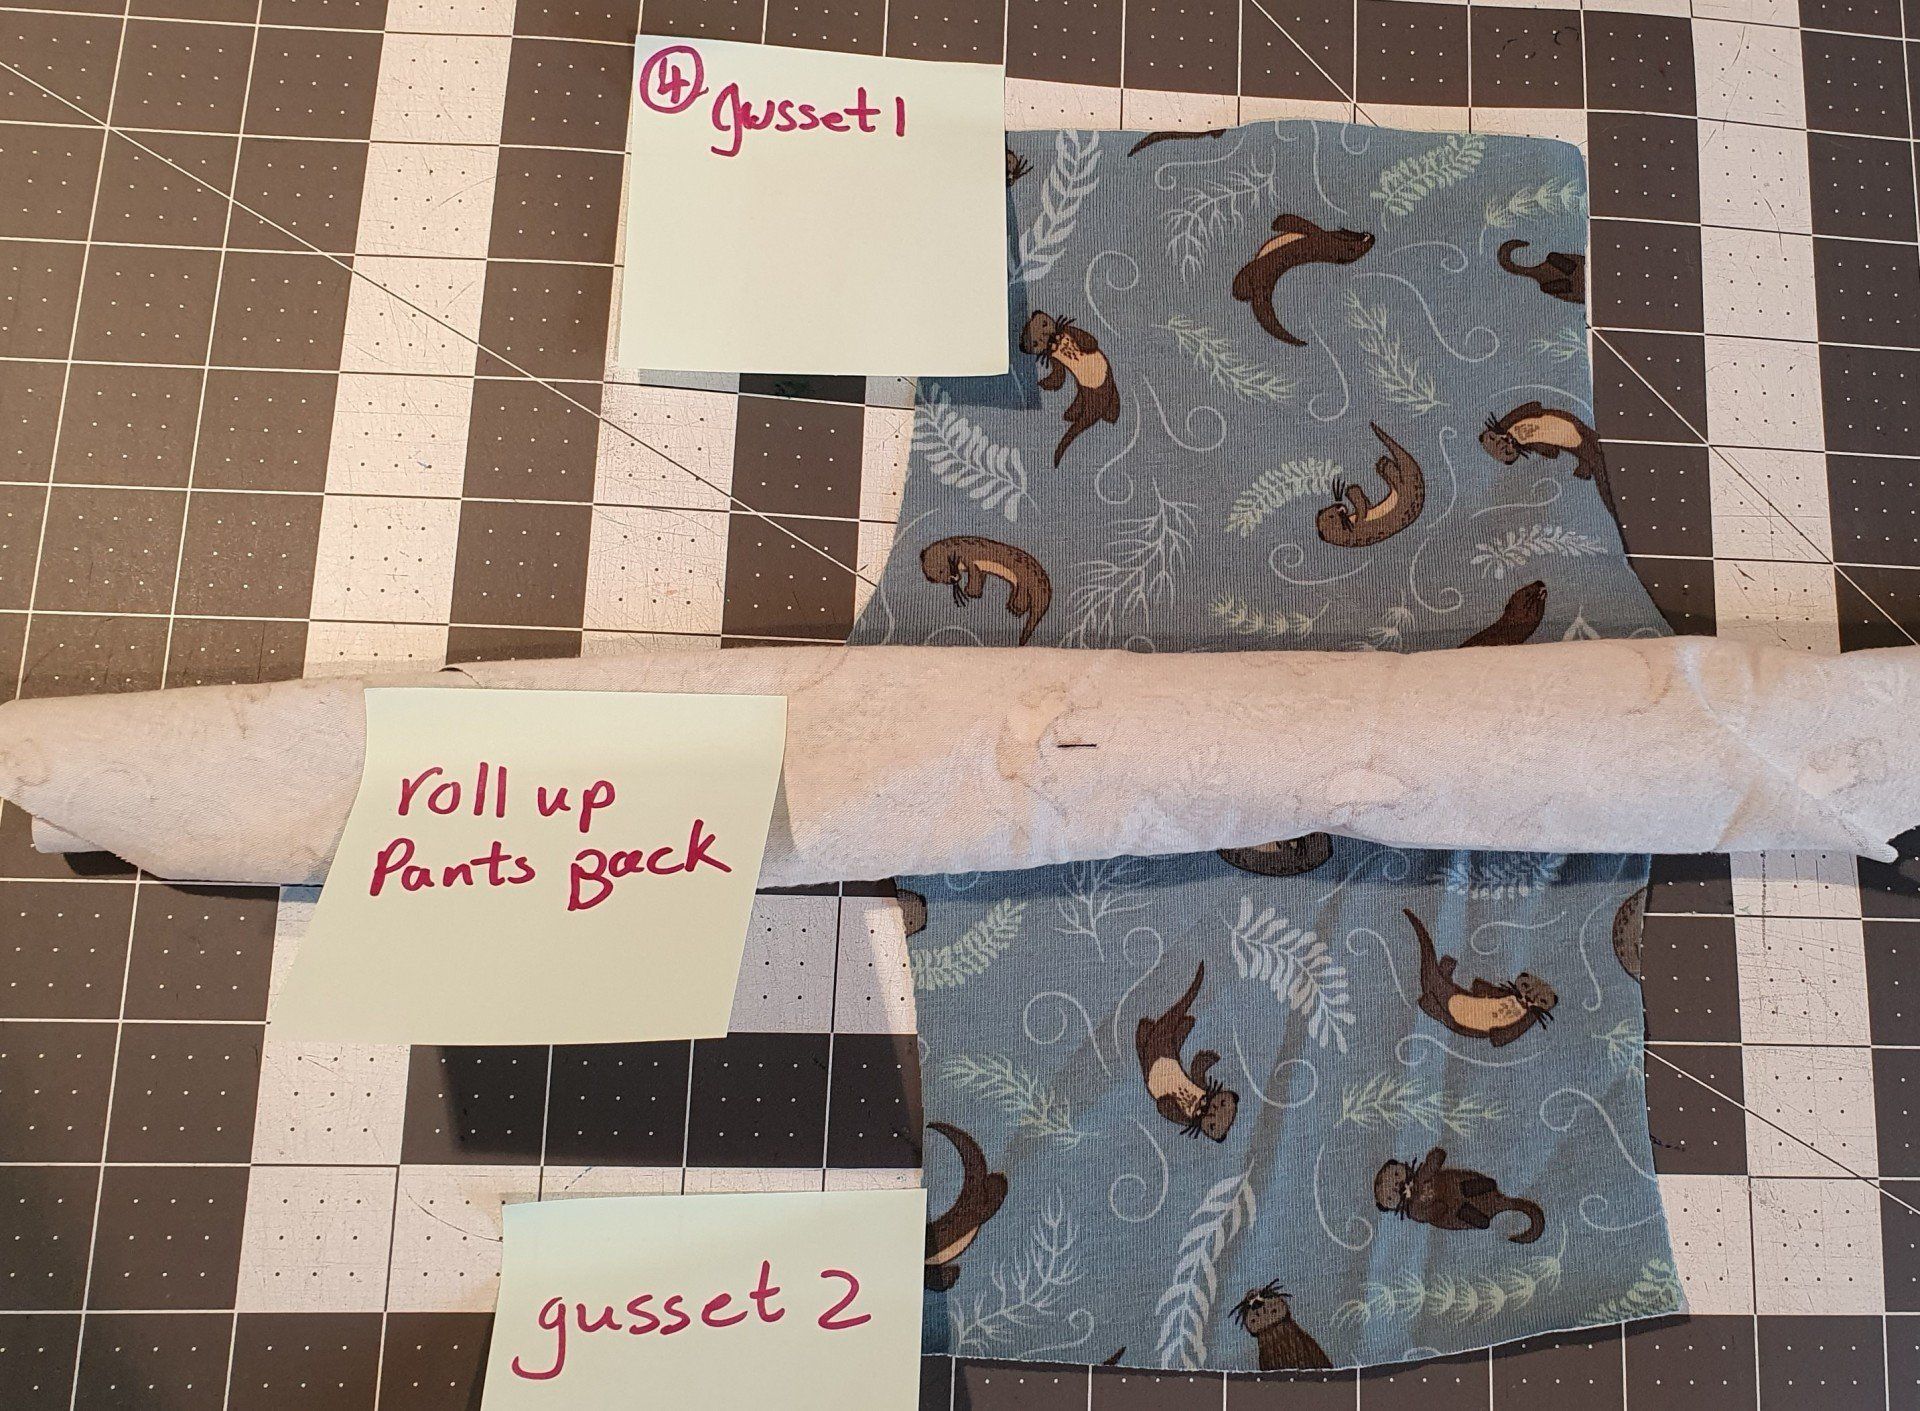
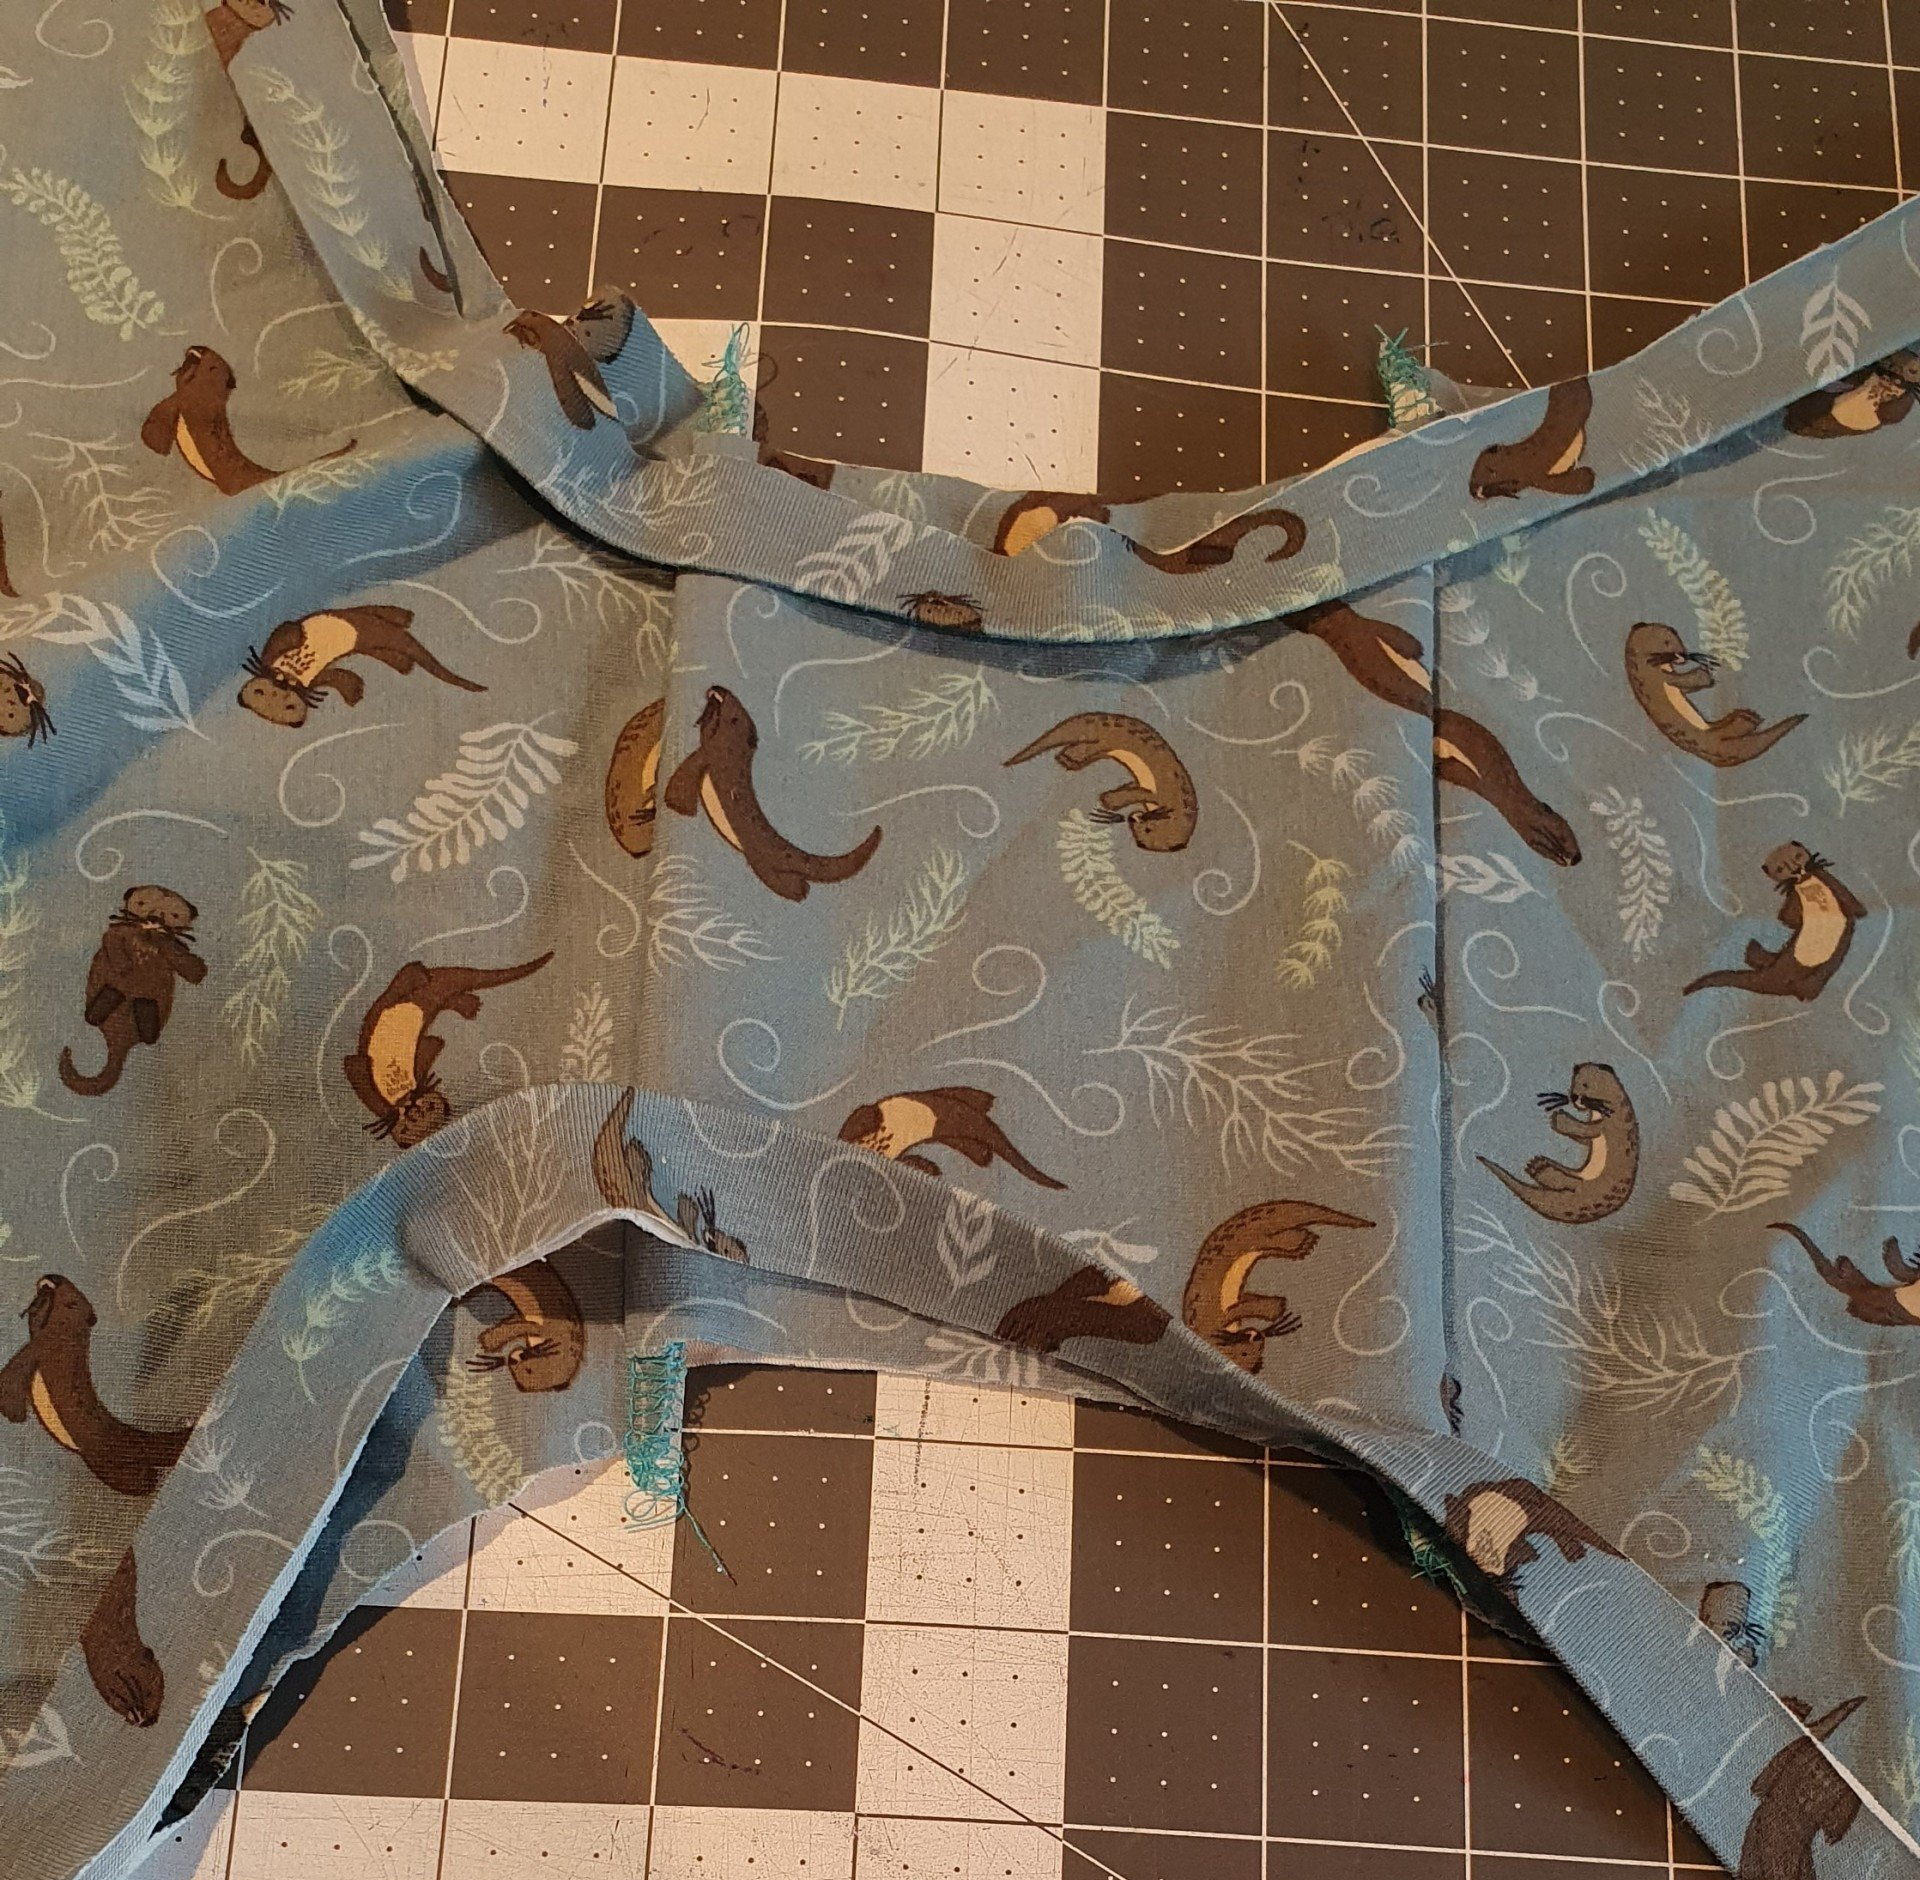
3) place the back piece right side up and between the 2 gusset pieces, on the long side, like a sandwich. The gusset pieces should both be wrong side out. Sew on the overlocker for best results.
4) This is the only fiddly bit! Open out the gusset and roll up the back piece so its laying over the seam you've just sewn. You should be able to see the 2 short edges of the gusset.
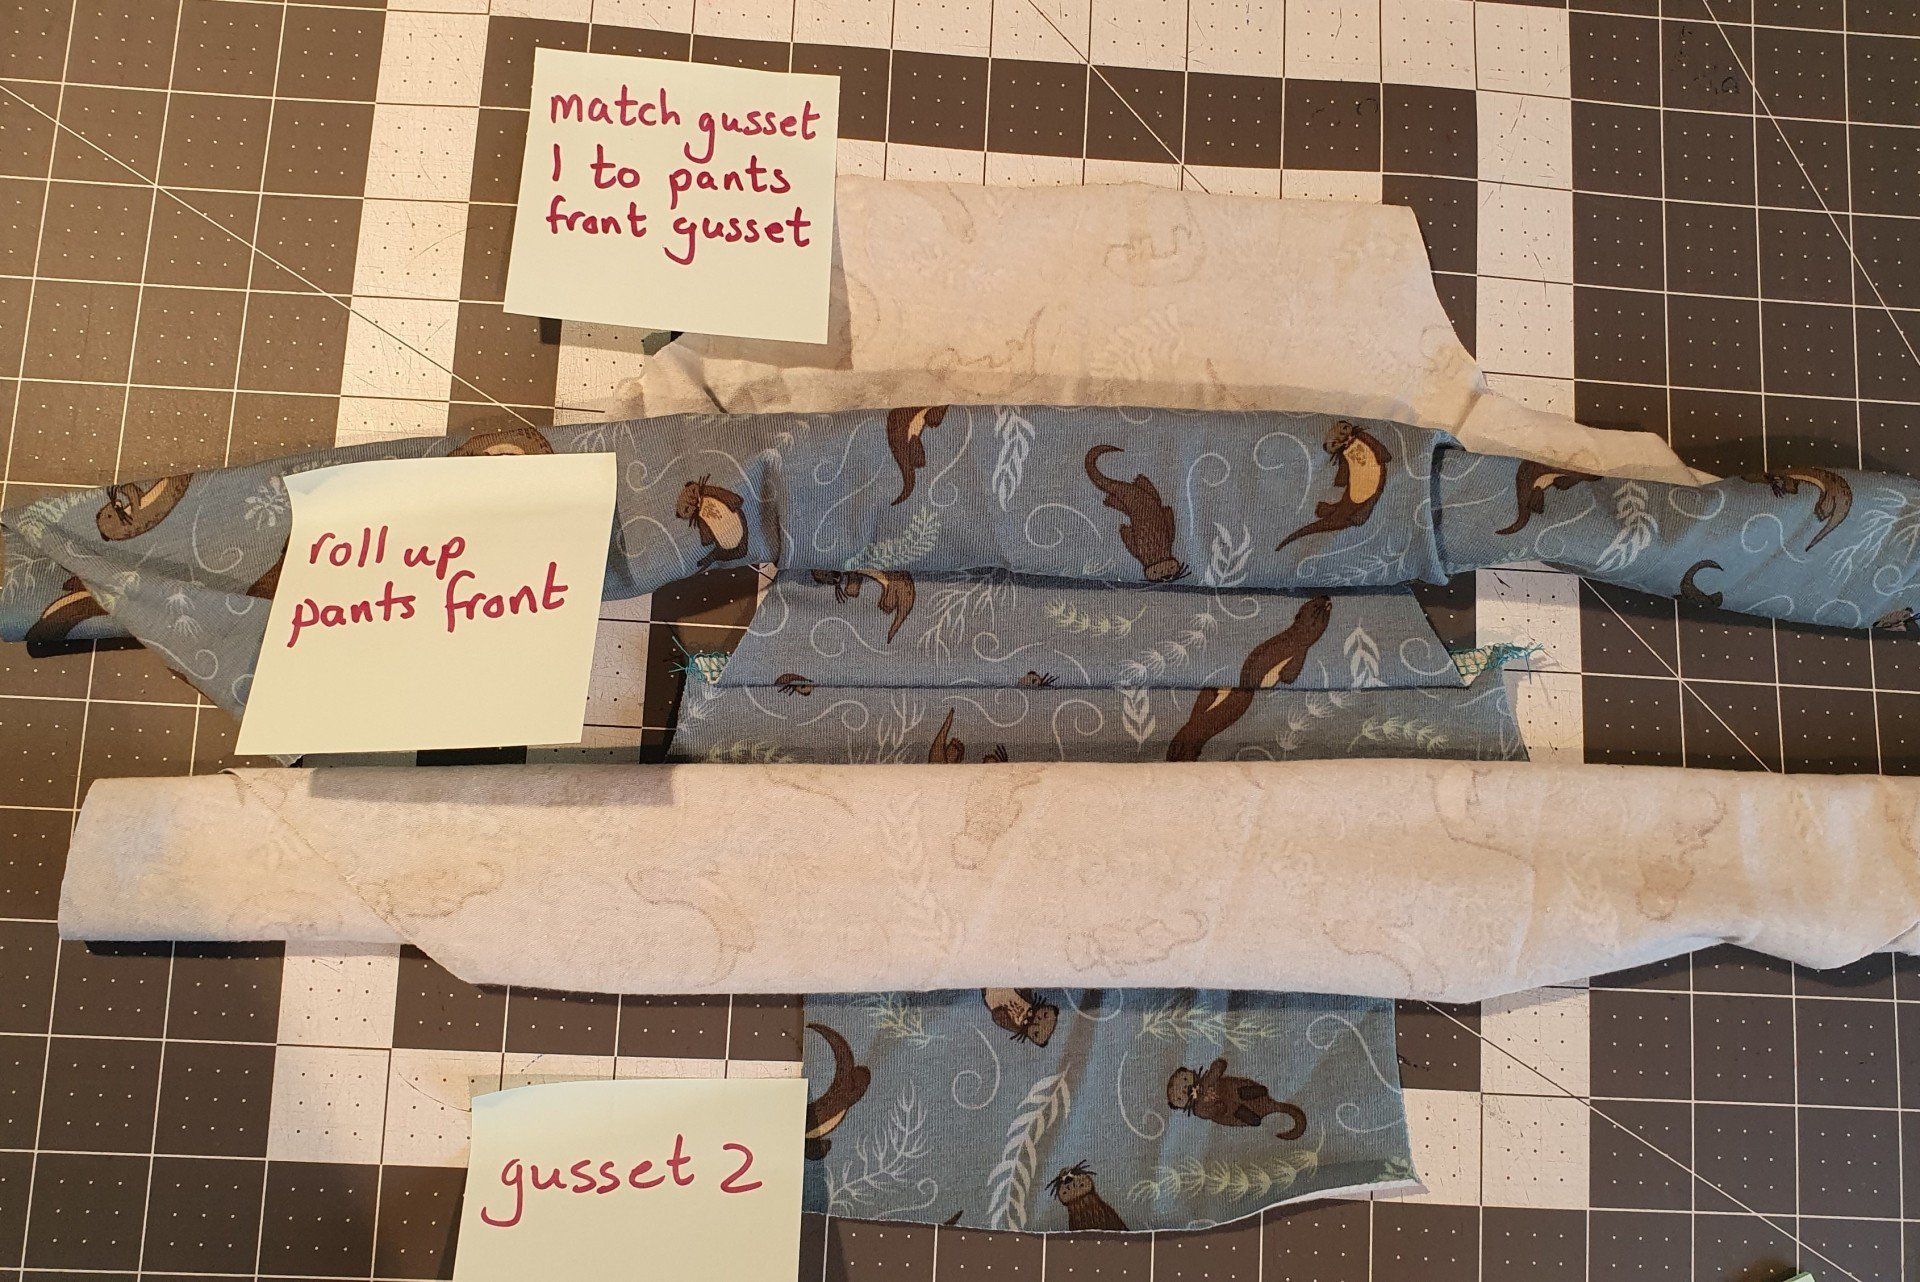
5) Roll up the front pants piece and lay it right side down, so that the gusset matches up at the top.
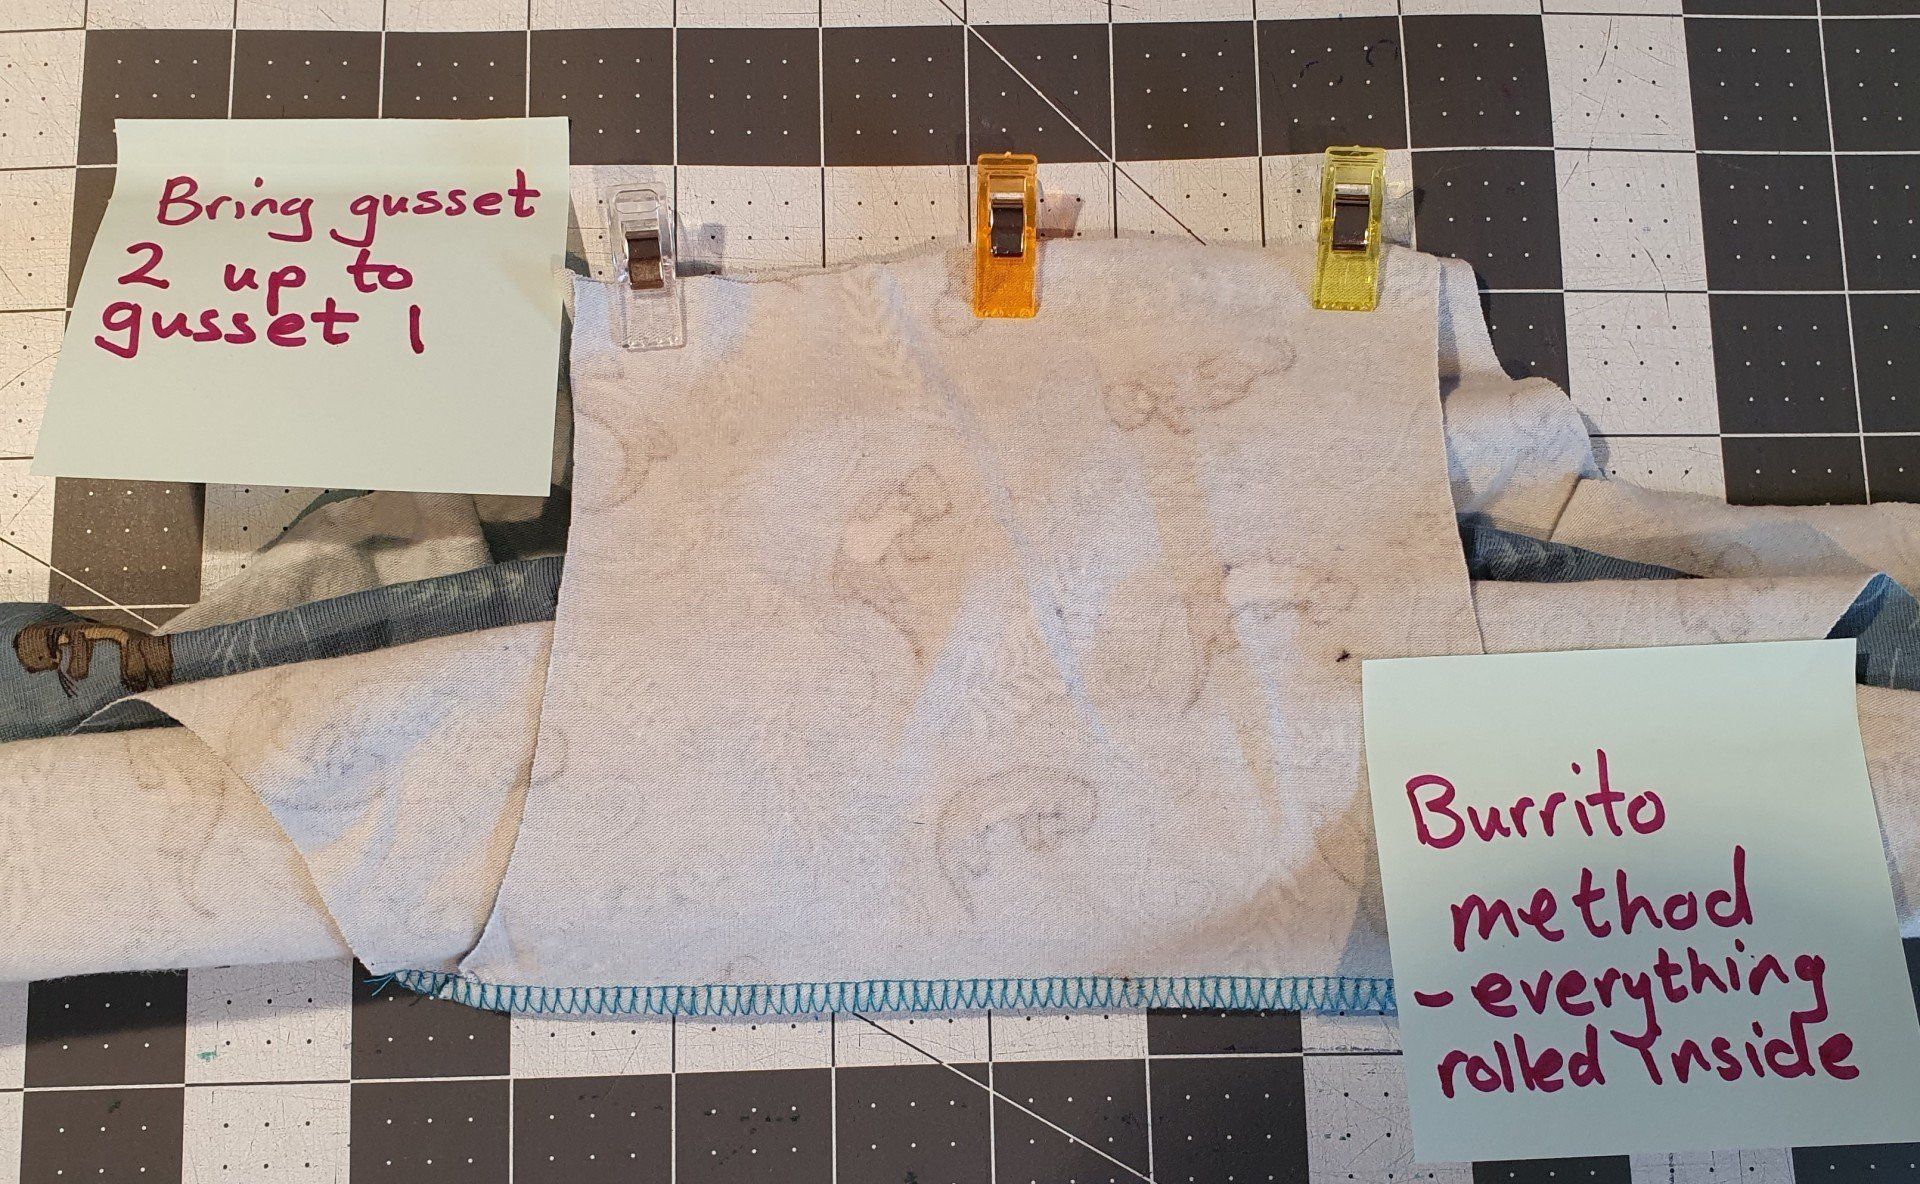
Bring up the lower gusset edge (2) to meet the pants and gusset at the top. You will have 3 layers. Sew all the layers together withe the 2 rolled up pieces in-between everything.
This is called the Burrito method, often used for shirt yokes.
New Paragraph

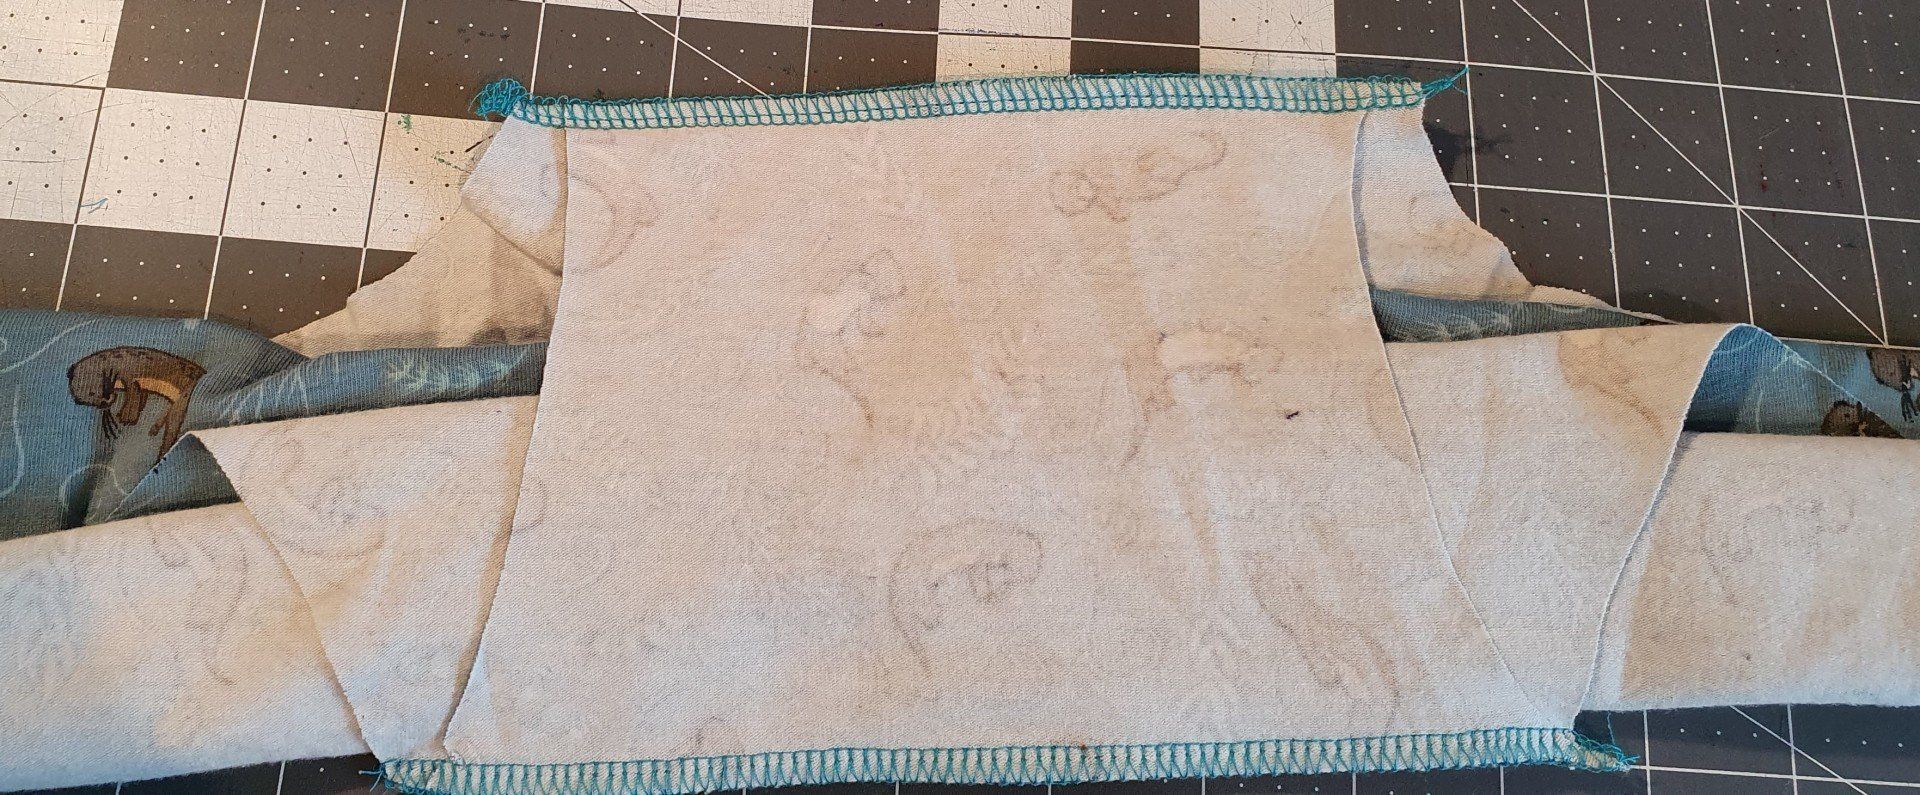
6) Pull the rolled up sections through and your gusset seams will all be hidden inside.
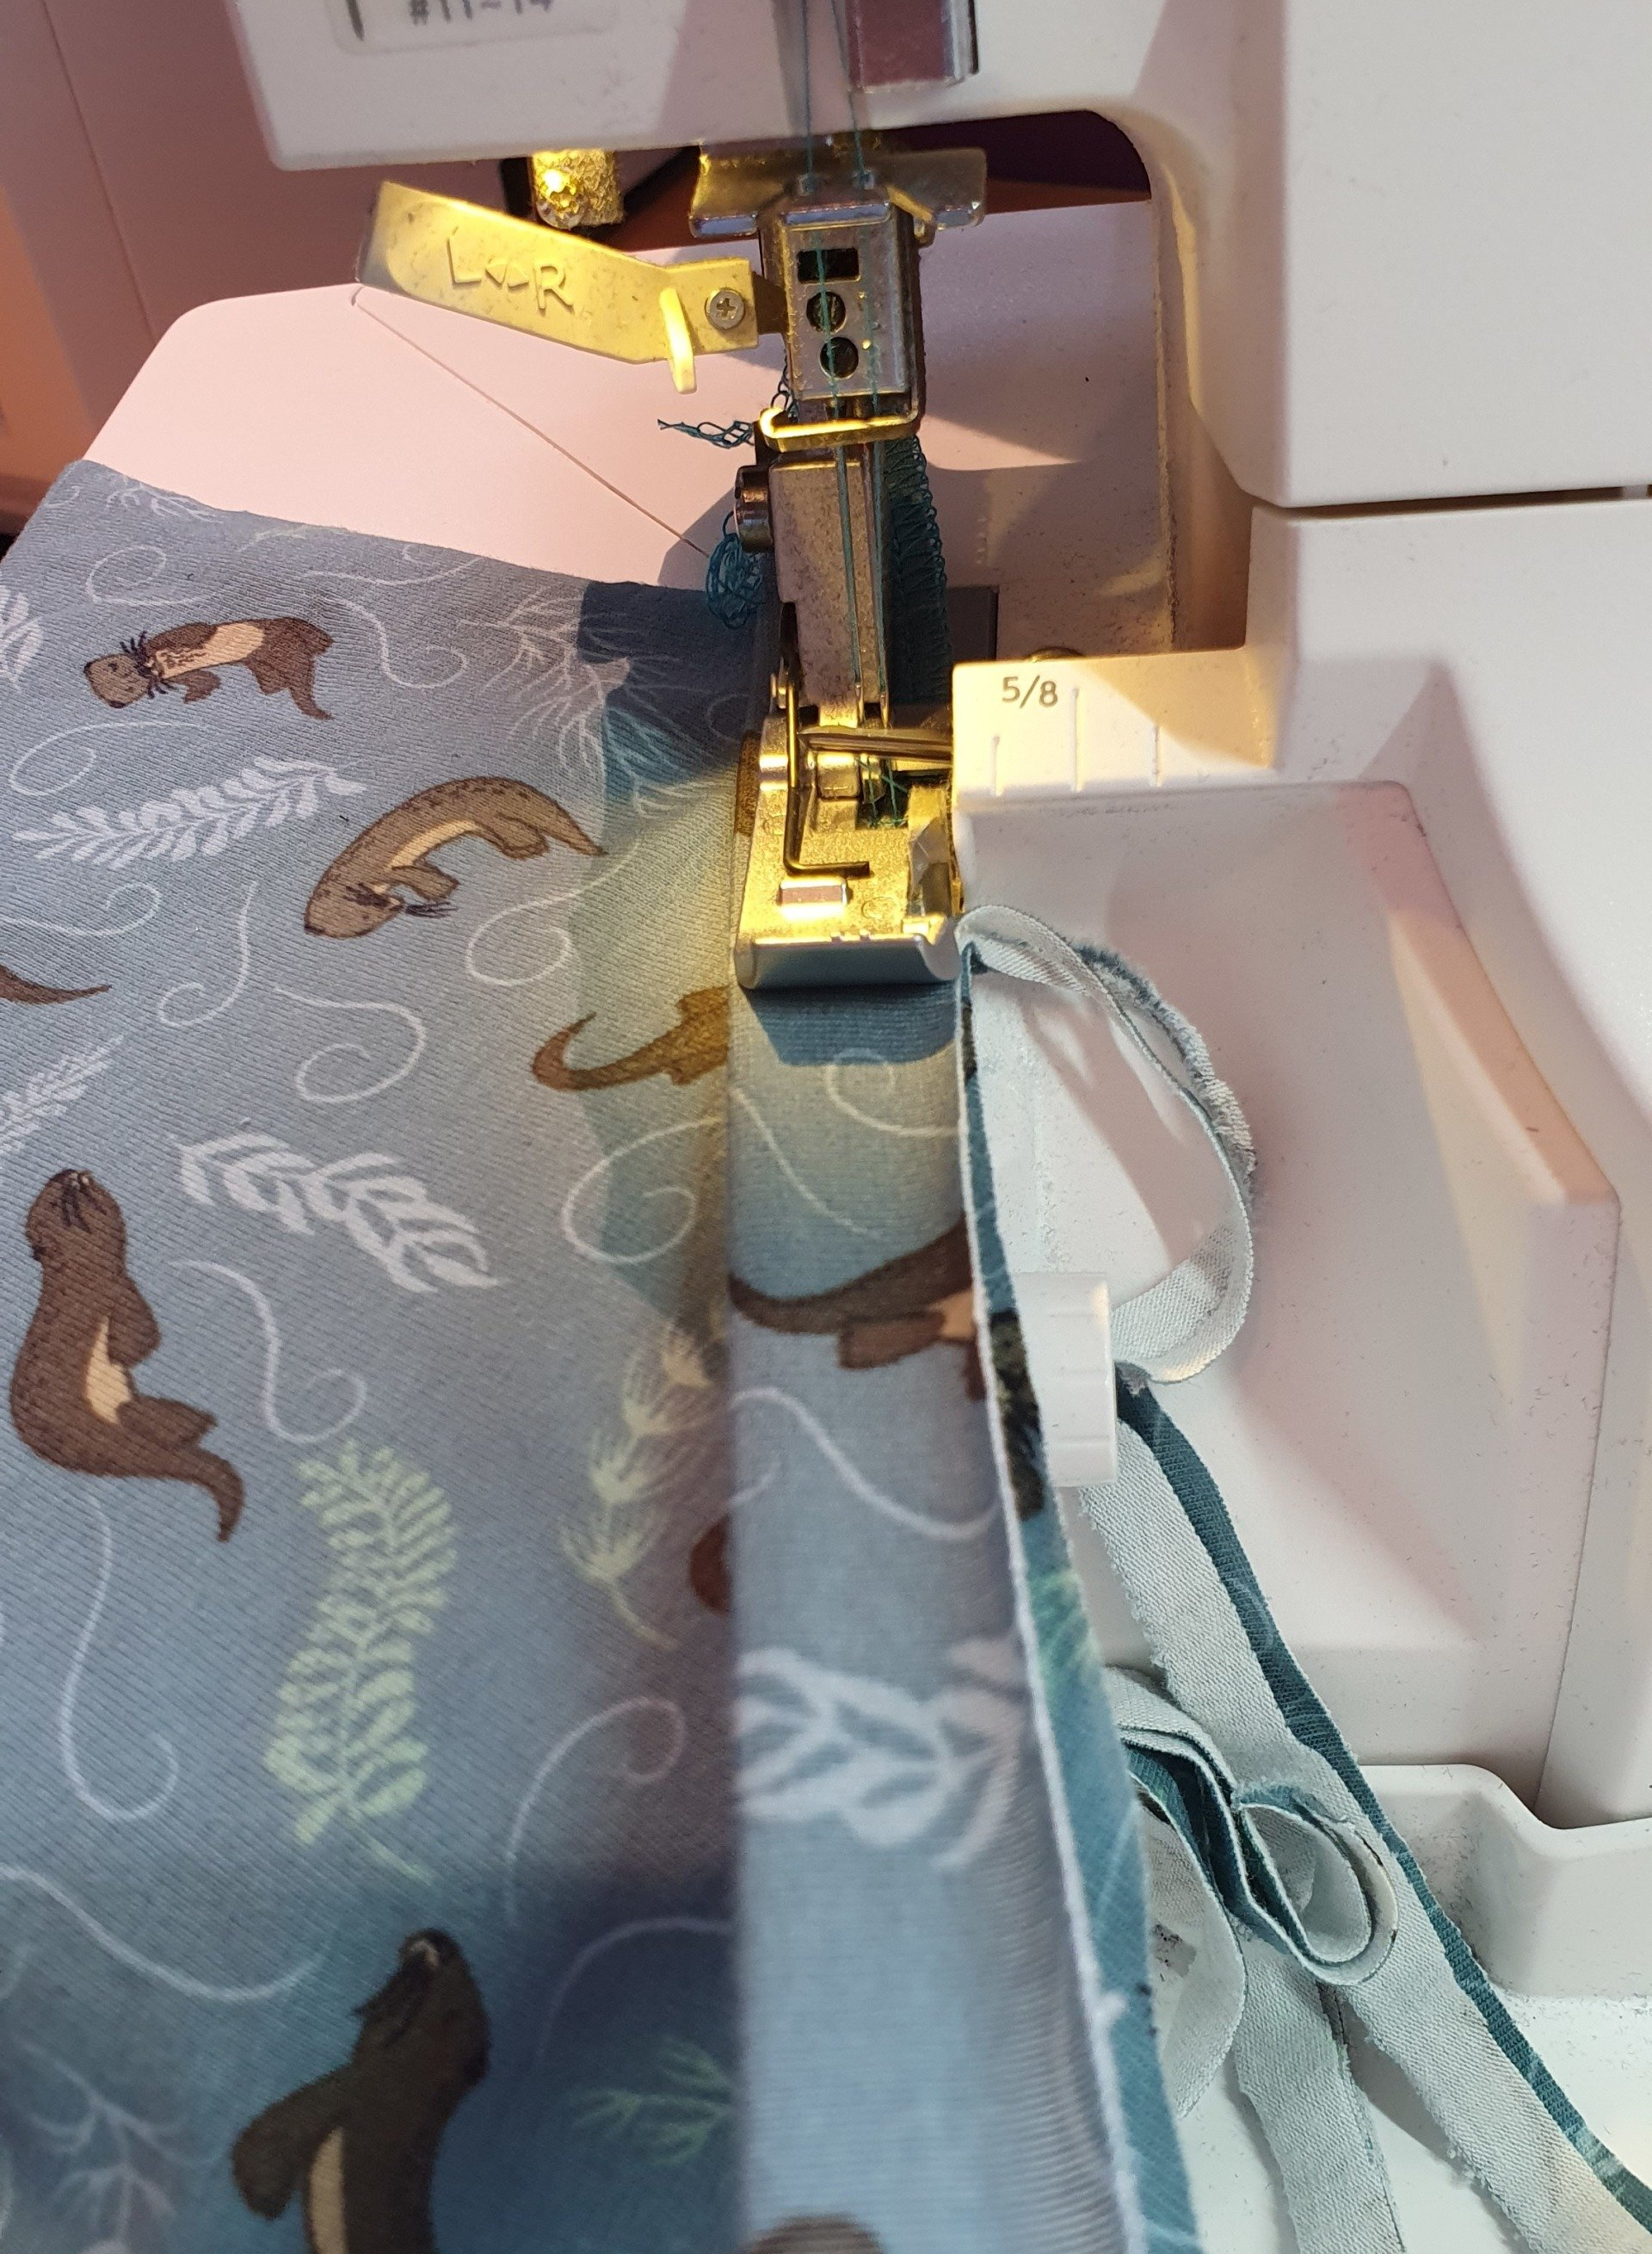
7) Working on the right side, lay the leg bands on the leg edge with all raw edges together. As you sew stretch the band to give it some tension around the leg. You'll not be able to pin this, so work slow and careful, to keep all the edges together.
8) Fold the bands down and press
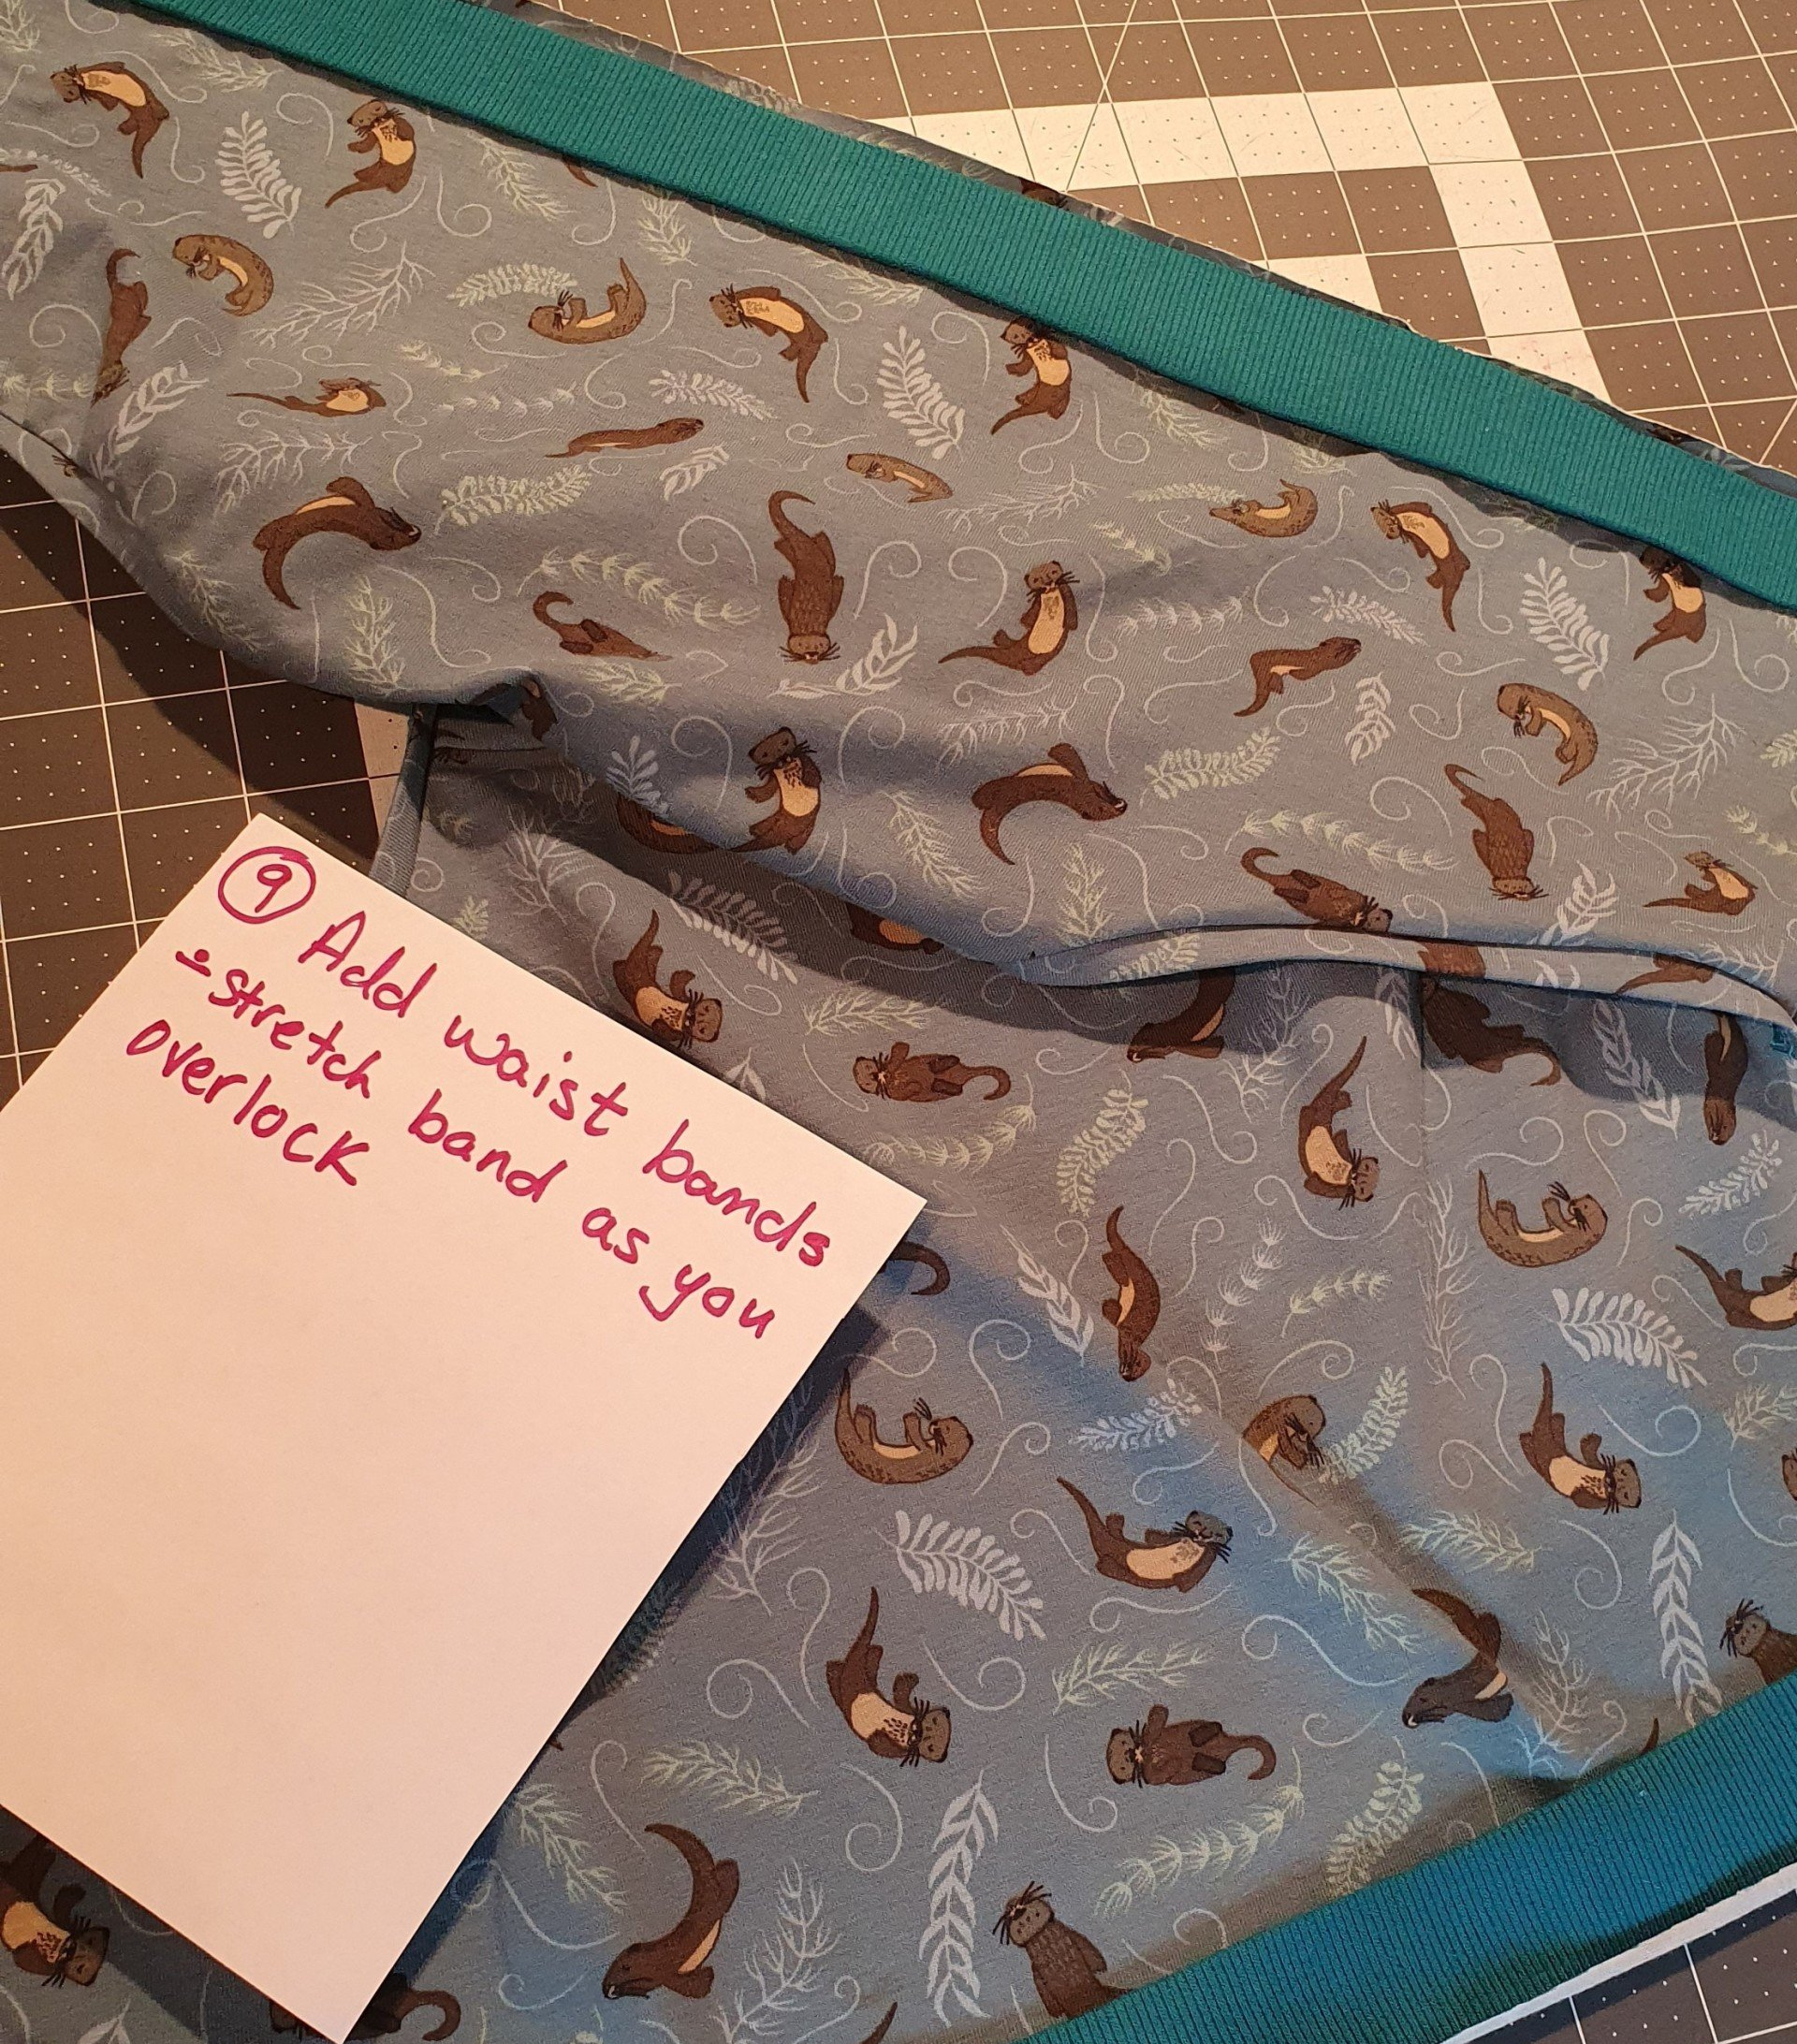
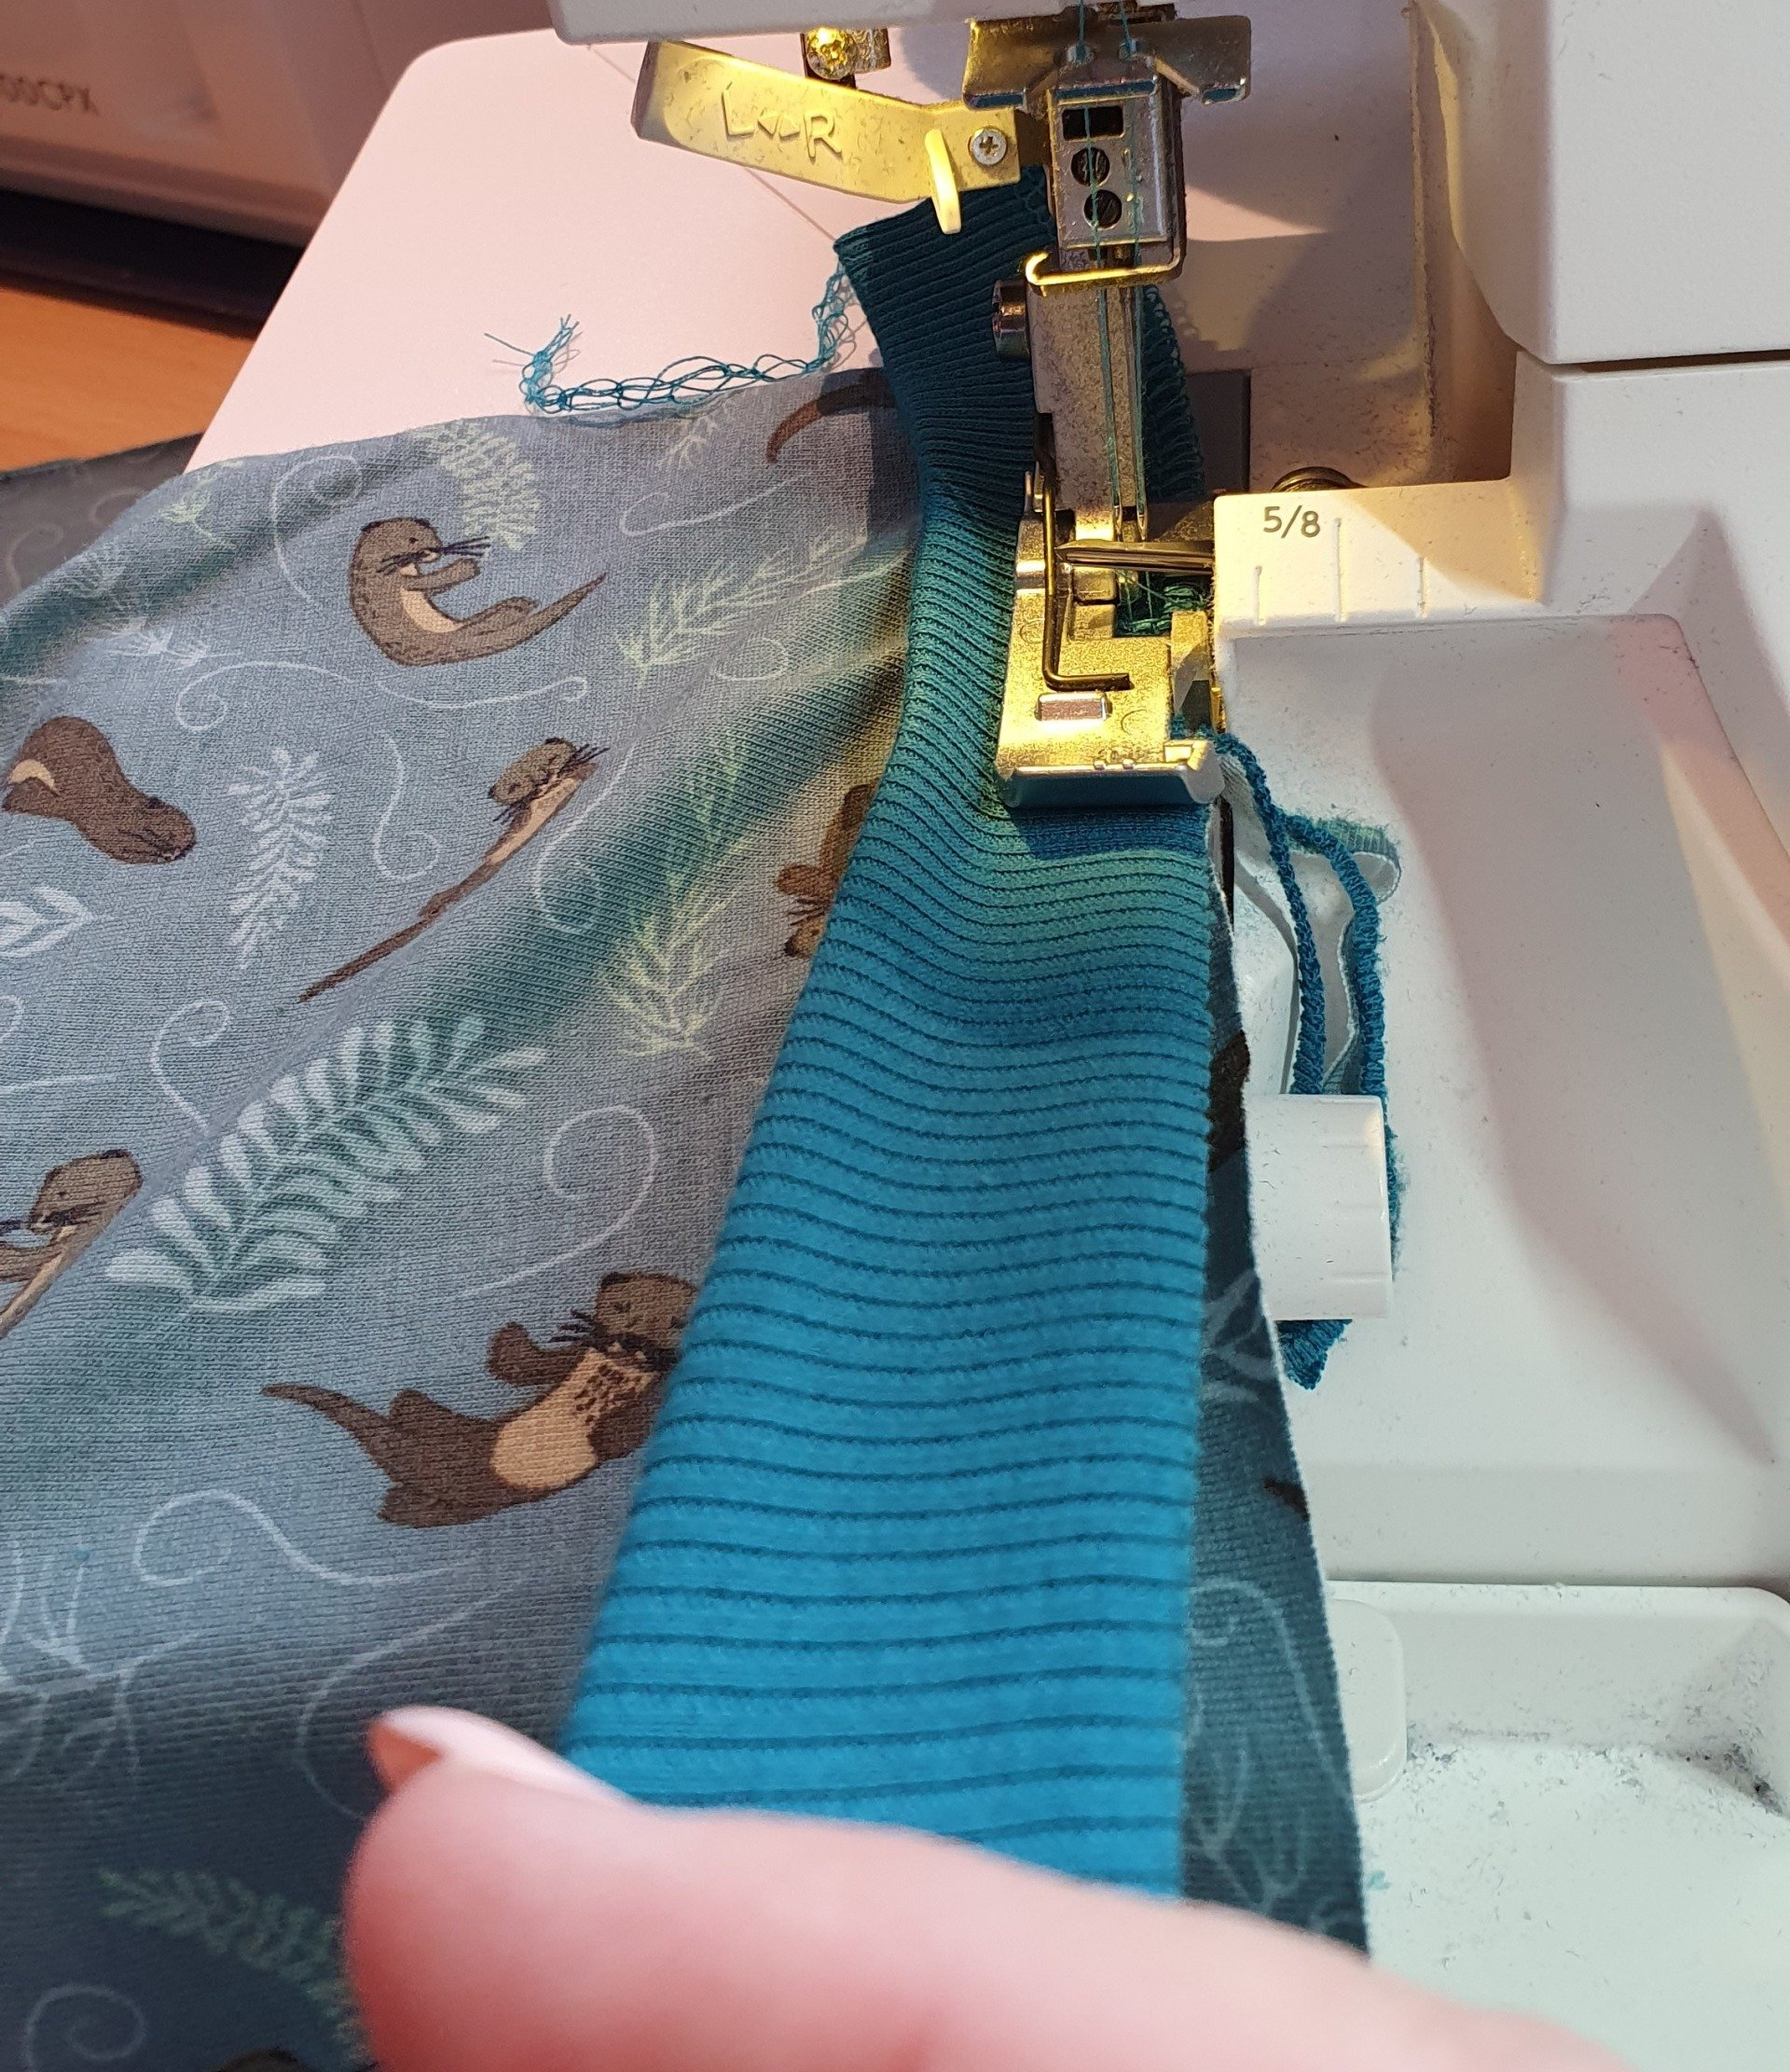
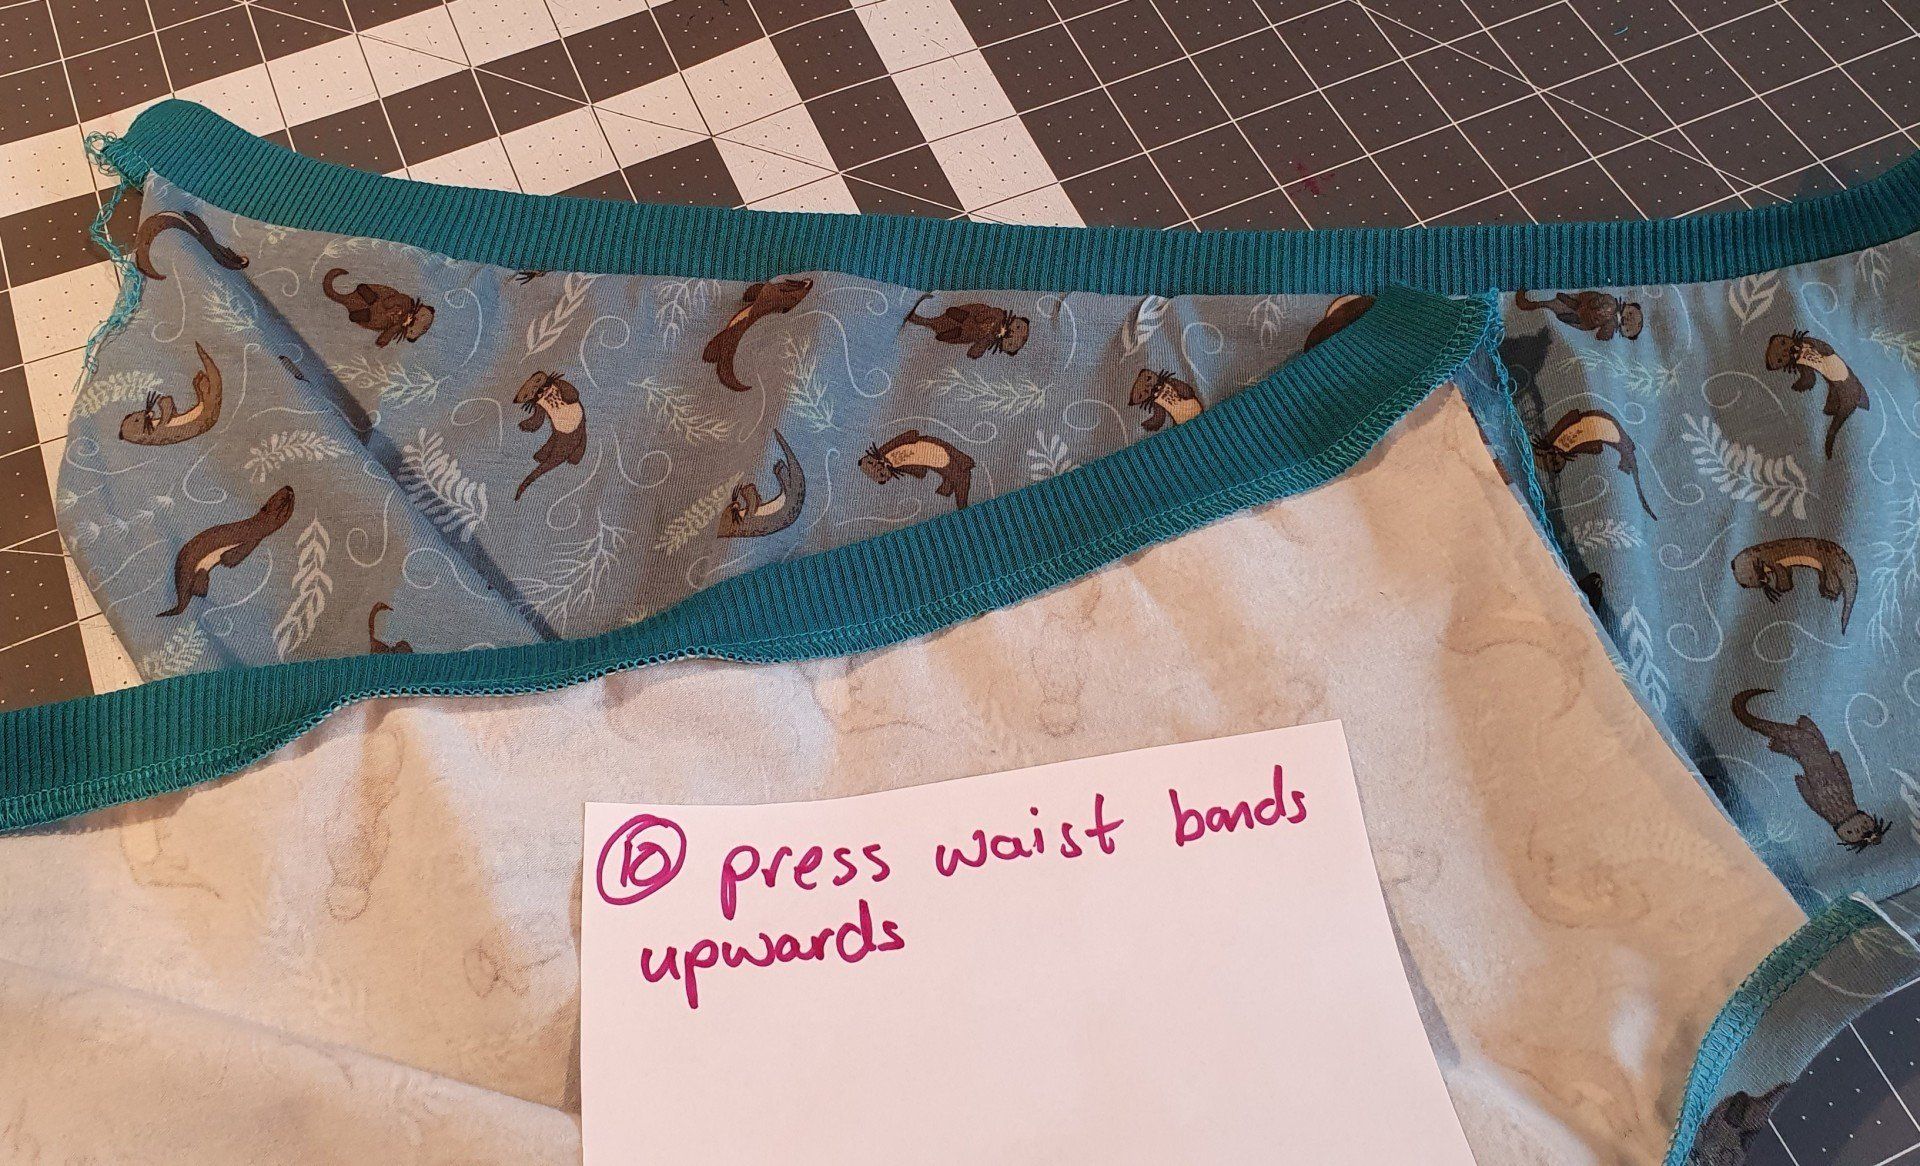
9) Add the waist bands to the top edge. Work on the right side and place the bands with the folded edge facing down and all the raw edges together. As you sew, really stretch the band (but not he pants pieces) so your pants will stay up! Work with the band on the top to make this easier.
10) Fold upwards and press.
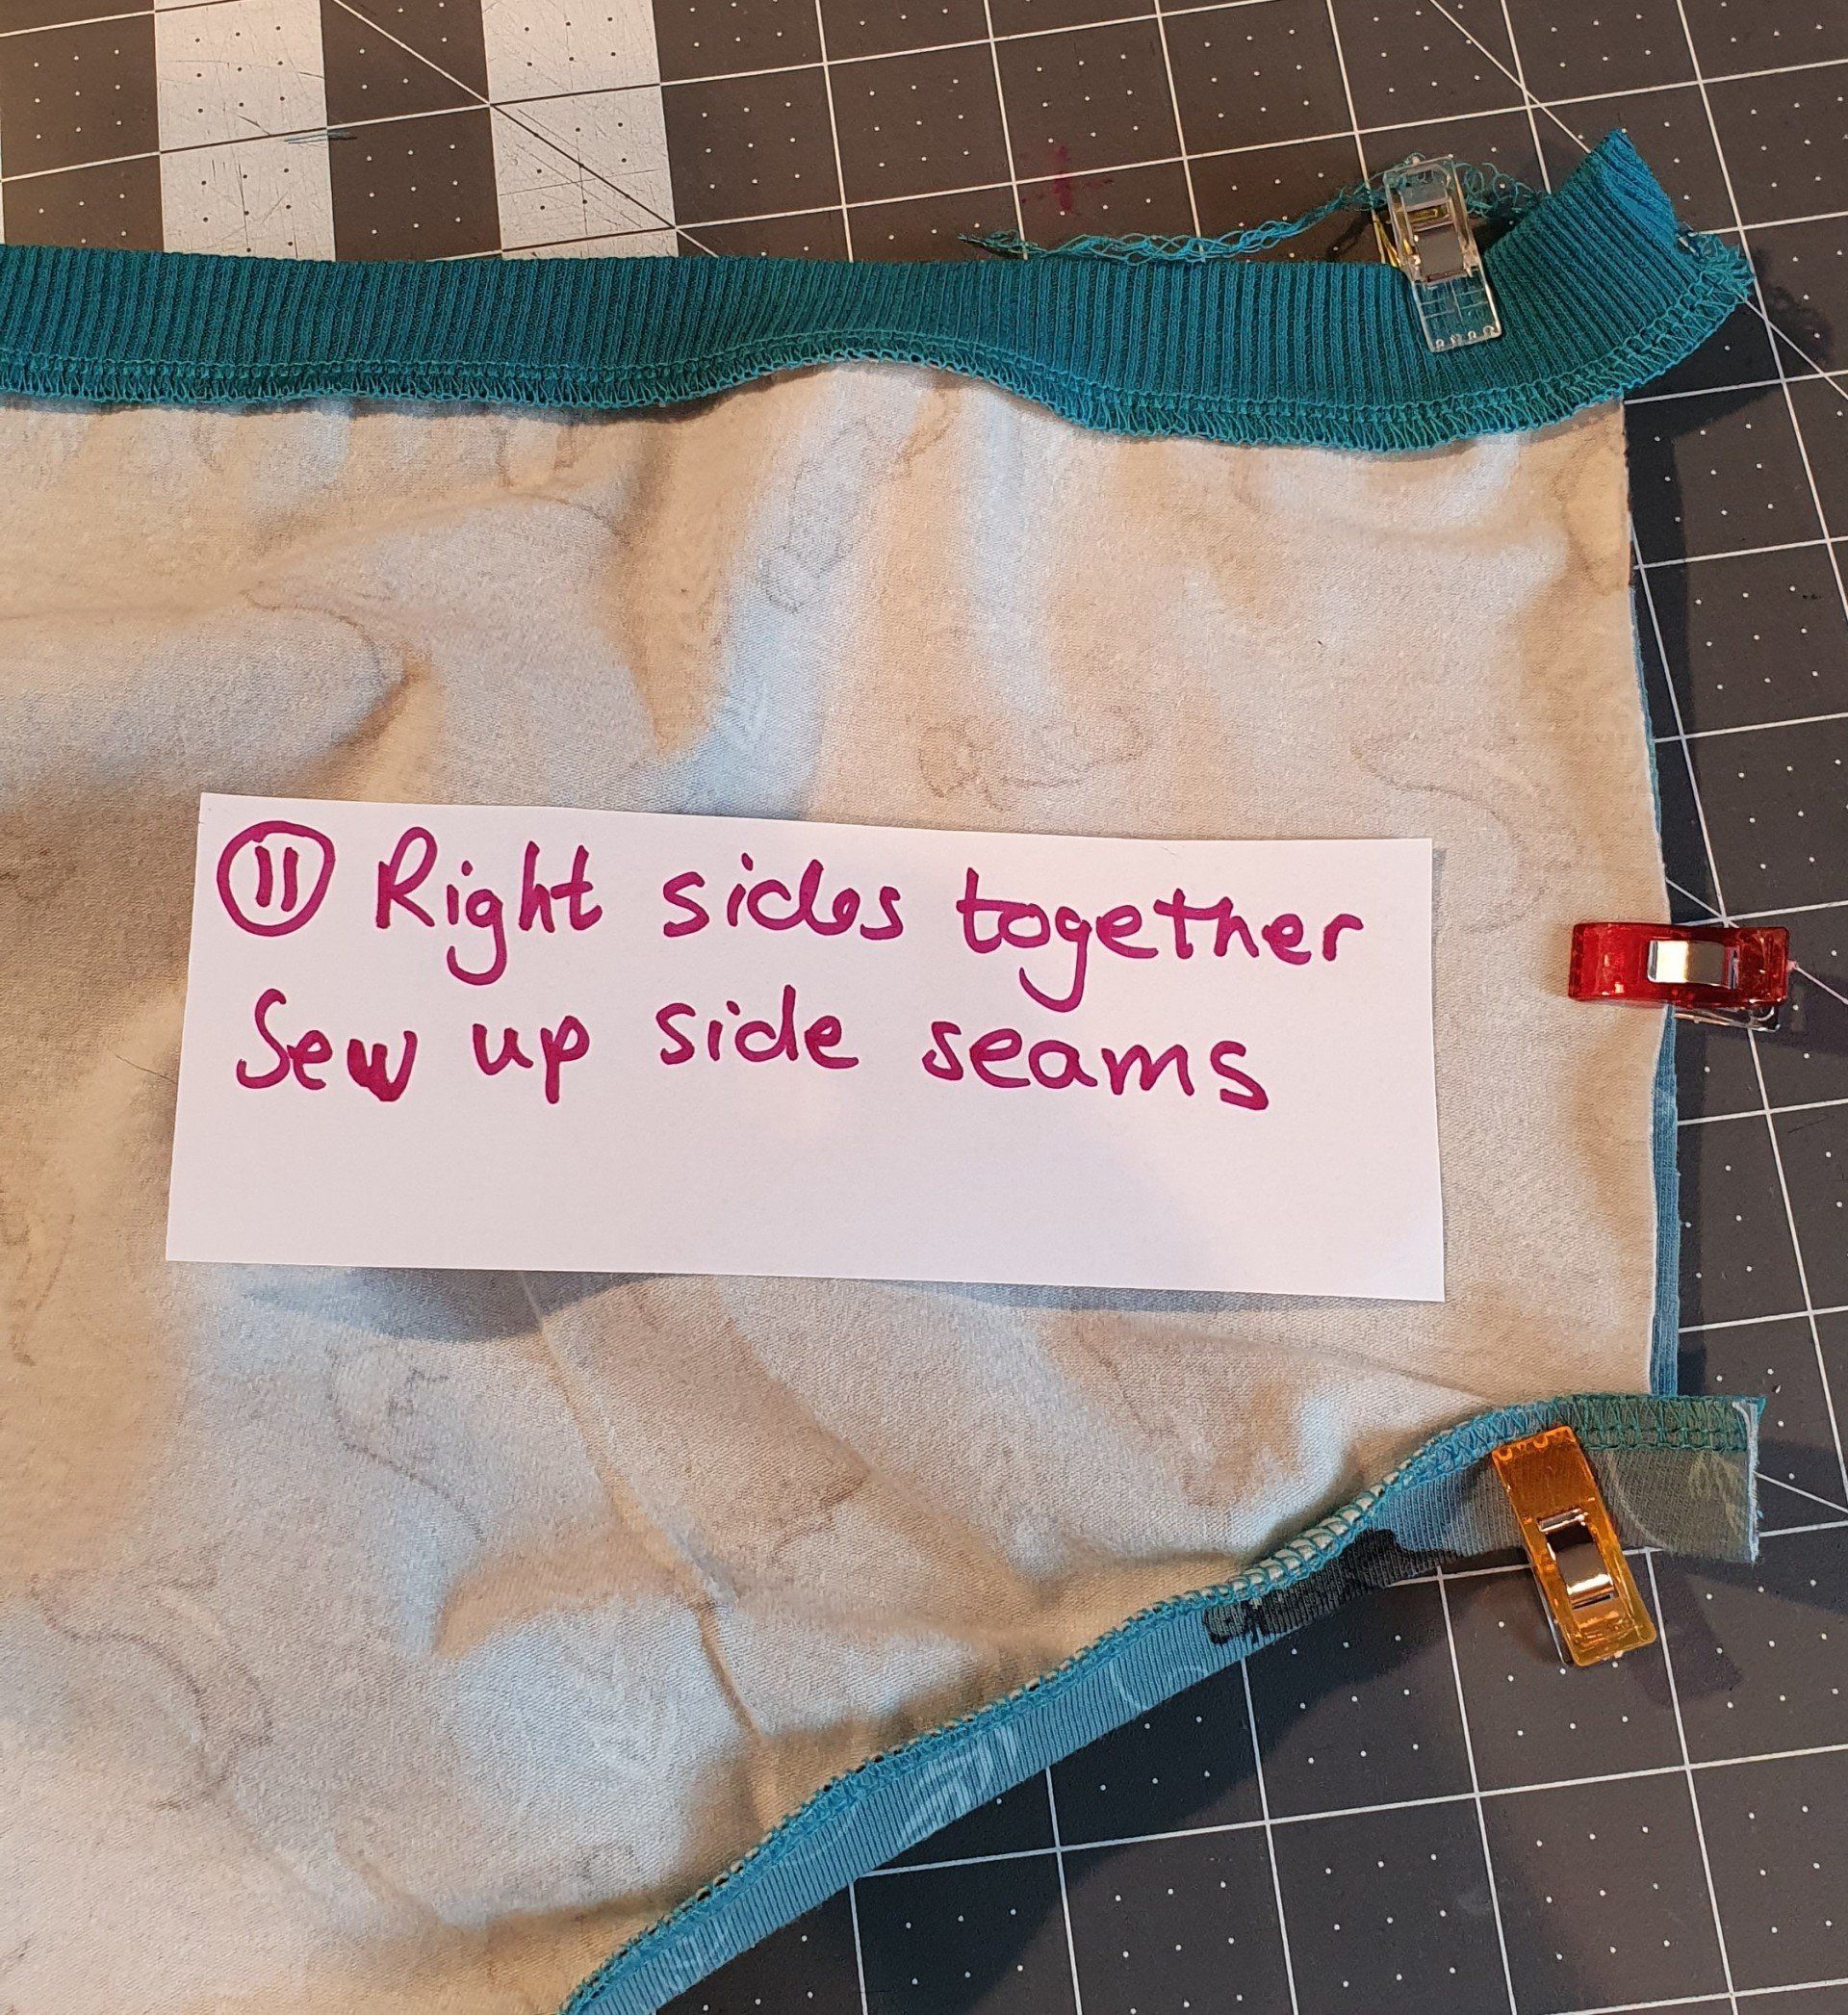
11) Join the side seams together, being careful to keep the bands level at the waist and legs. If you like, you can put a couple of hand stitches in, to keep them together, as they may move when you start overlocking.
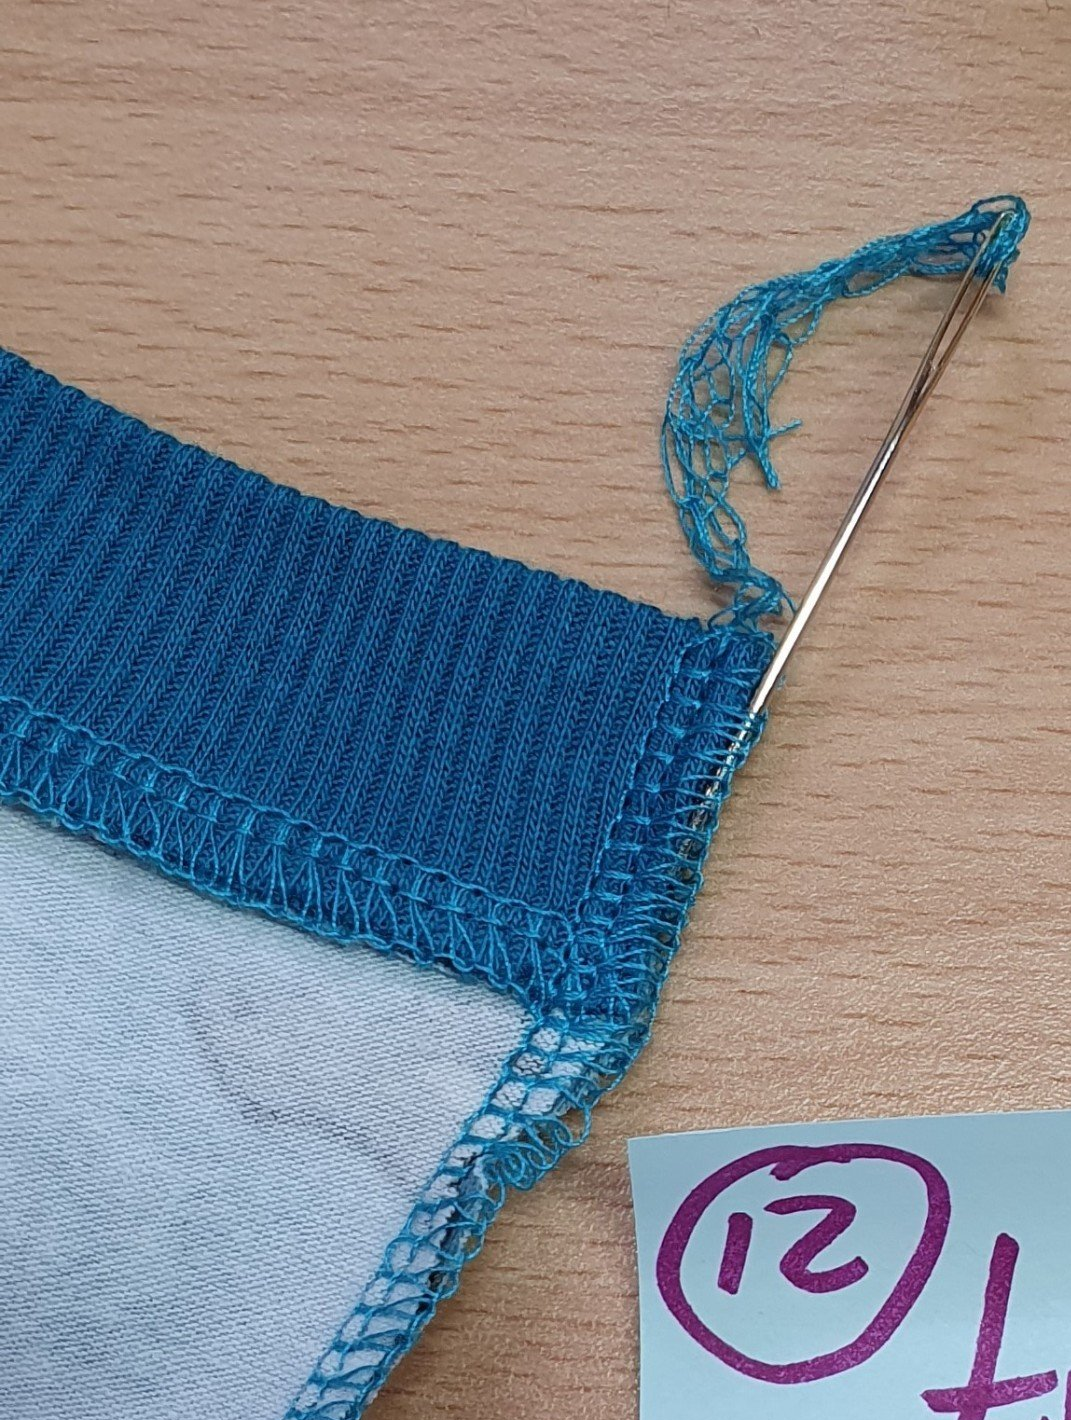
12) Tidy up the overlock chains. I do this by threading onto a large eyed needle and working back through the stitching. You can zig-zag over them on a normal sewing machine too but I couldn't be bothered re-threading my machine!
There you go, Pants! Sooo comfy and the best use of scraps of jersey ever. Mix and match your colours for some new pants that make you happy!